Mess-Free Ceiling Painting: Tips for Oregon Homeowners
Painting your ceiling can feel like the final boss of DIY home projects—awkward angles, paint drips, and sore shoulders. But with the right approach, it doesn't have to turn into a disaster. Whether you're freshening up a single room or planning a full home makeover, a few expert tips can help you get the job done right—without the mess. Of course, if you’d rather skip the hassle entirely, professional painters Central Oregon homeowners trust can make the whole process smooth and stress-free.
In this post, we’ll walk you through how to prep, paint, and clean up like a pro, so your ceiling project goes off without a hitch.
1. Preparation Is Everything
The secret to a clean ceiling paint job starts before you ever pick up a roller. Prep work protects your floors, furniture, and sanity.
Here’s what you’ll need to do:
- Clear the space: Remove as much furniture as possible. Cover what’s left with plastic sheeting or drop cloths.
- Protect your floors: Use canvas drop cloths for better grip underfoot (plastic can get slippery).
- Tape strategically: Use painter’s tape to line the tops of your walls and fixtures like ceiling fans or lights. If you’re not painting the walls, this step is essential.
- Clean the ceiling: Dust, spiderwebs, and grease (especially in kitchens) can stop paint from sticking. A quick vacuum or wipe-down with a damp cloth does wonders.
- Prime if needed: If your ceiling has stains, patches, or a dark color, use a primer to even things out before painting.
2. Choose the Right Tools (and Paint)
When it comes to ceilings, the paint and tools you use can either make your life easier—or add to the mess.
What to look for:
- Ceiling-specific paint: These are typically thicker, drip-resistant, and designed to dry more slowly to reduce splatter.
- Extension pole: Skip the ladder where you can. An adjustable extension pole lets you work safely from the ground.
- Roller with the right nap: For smooth ceilings, use a 3/8" nap. For textured ones, go up to 3/4".
- Angled brush: Helps you cut in clean edges along corners and light fixtures.
Using the right combination of products ensures better coverage with fewer passes—meaning less chance of splatter and mistakes.
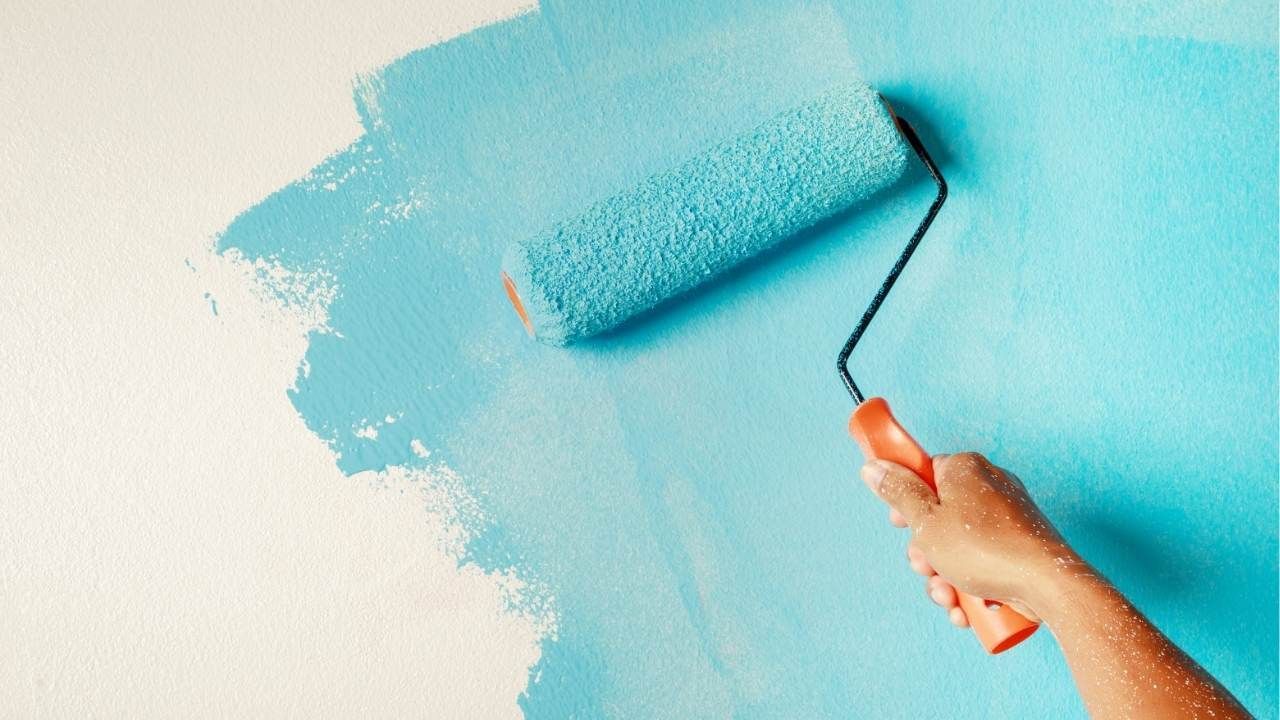
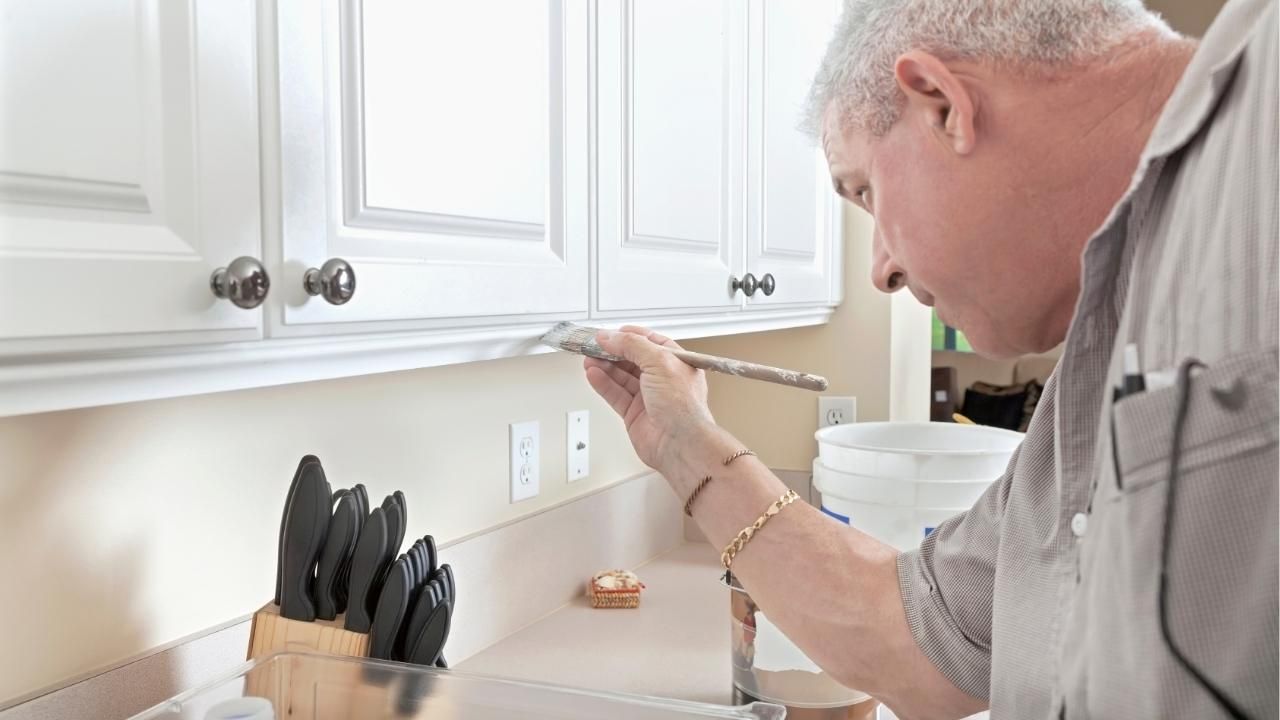
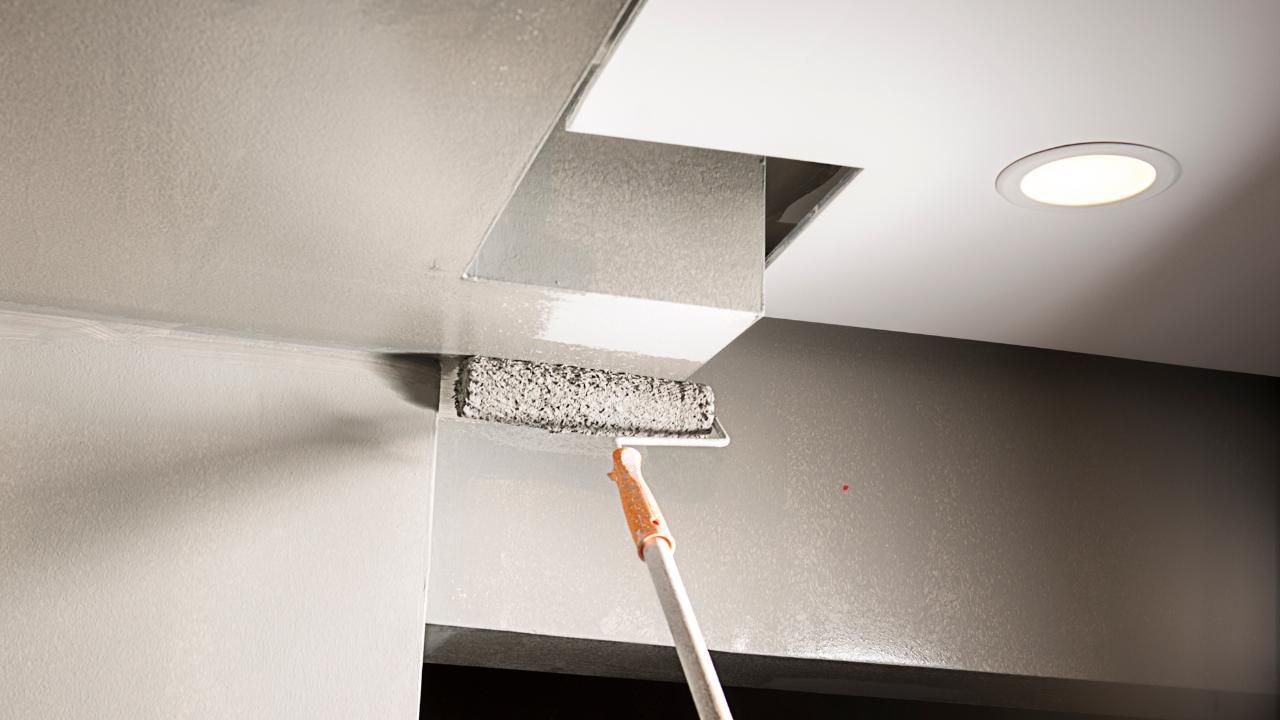
3. Paint With Technique, Not Muscle
Painting a ceiling isn’t about brute force—it’s about finesse. Start with your edges using an angled brush, then use a roller to fill in the rest.
Pro tips for clean, efficient painting:
- Use a “W” pattern: Roll paint in overlapping W-shaped motions to avoid streaks and lap marks.
- Don’t overload your roller: It might seem like a shortcut, but too much paint = more drips.
- Work in sections: Paint a small area at a time, keeping a wet edge to blend sections seamlessly.
- Take breaks: Ceiling work can strain your neck and arms—pace yourself and keep the job manageable.
4. Clean-Up That’s Painless
Once the last coat is dry, you’re not quite done yet. Thoughtful cleanup keeps your space spotless and tools in good shape for next time.
What to do after painting:
- Remove tape before the paint fully dries to avoid peeling.
- Wash brushes and rollers immediately if you plan to reuse them.
- Fold up drop cloths carefully to catch any stray drips.
- Wipe any smudges or splatters with a damp cloth while the paint is still fresh.
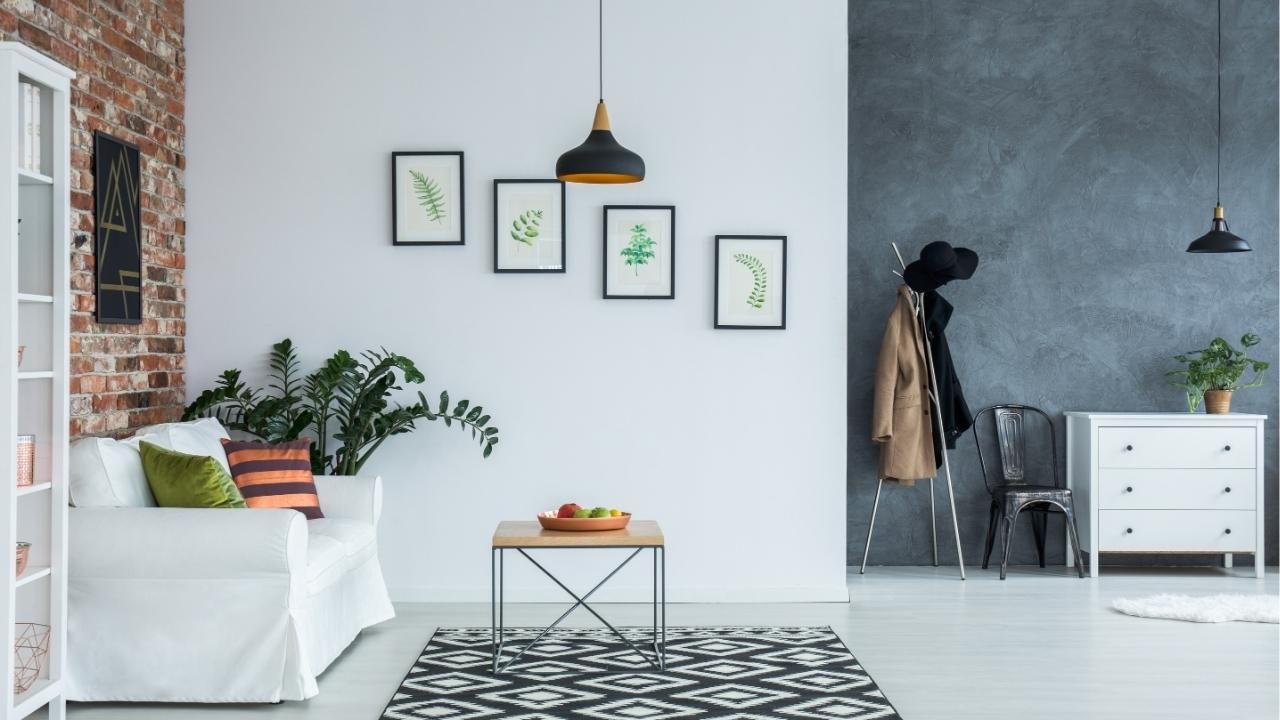
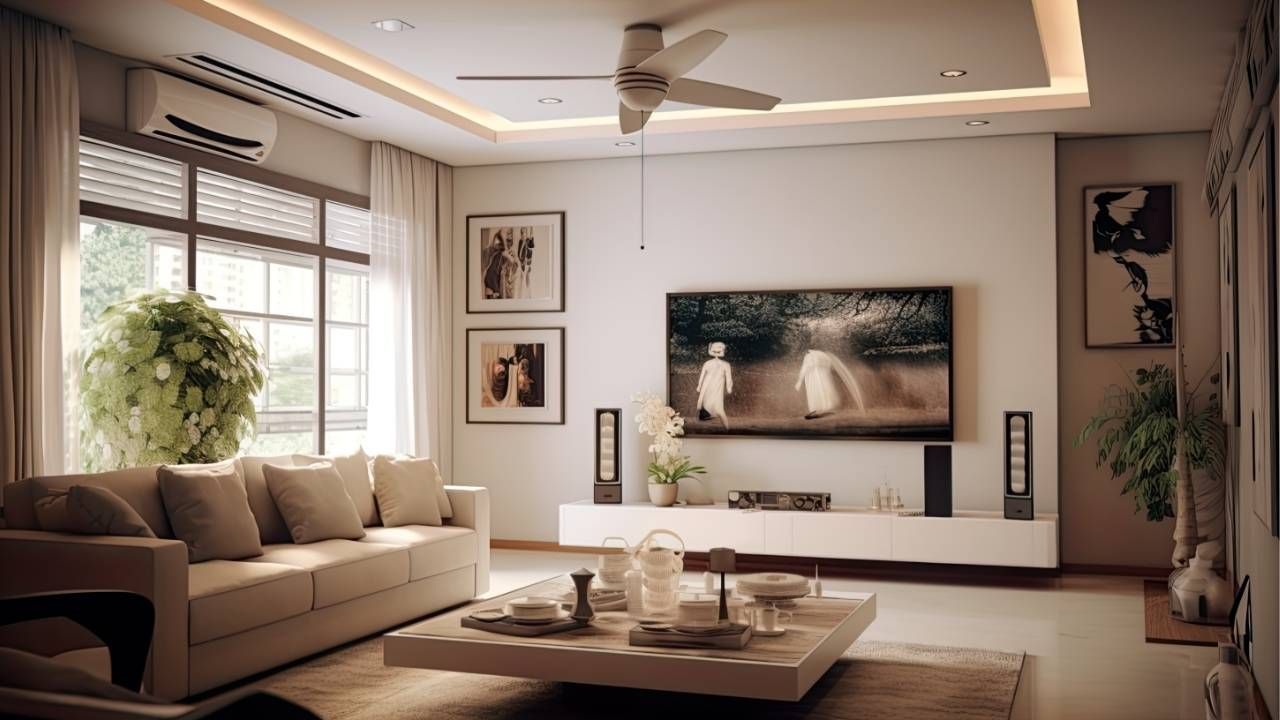
Case Study: A Stress-Free Living Room Refresh
One homeowner in Oregon decided to repaint their living room ceiling as part of a mini home refresh. They followed all the prep steps but quickly realized the awkward angles and ceiling texture made it difficult to get a clean coat. They hired Ash Painting halfway through, and the pros came in with the right tools, cleaned up the patchy work, and completed the job in one afternoon. Their takeaway? Sometimes it’s best to leave certain services to the professionals.
Ready to Paint Without the Pain?
Ceiling painting doesn’t have to be your worst DIY nightmare. With proper prep, the right tools, and a little patience, you can handle it without the mess. And when in doubt, hiring professionals like Ash Painting can save you time, cleanup, and frustration. To learn more about our services and see our service areas, please contact us today.
Ash Painting Blogs