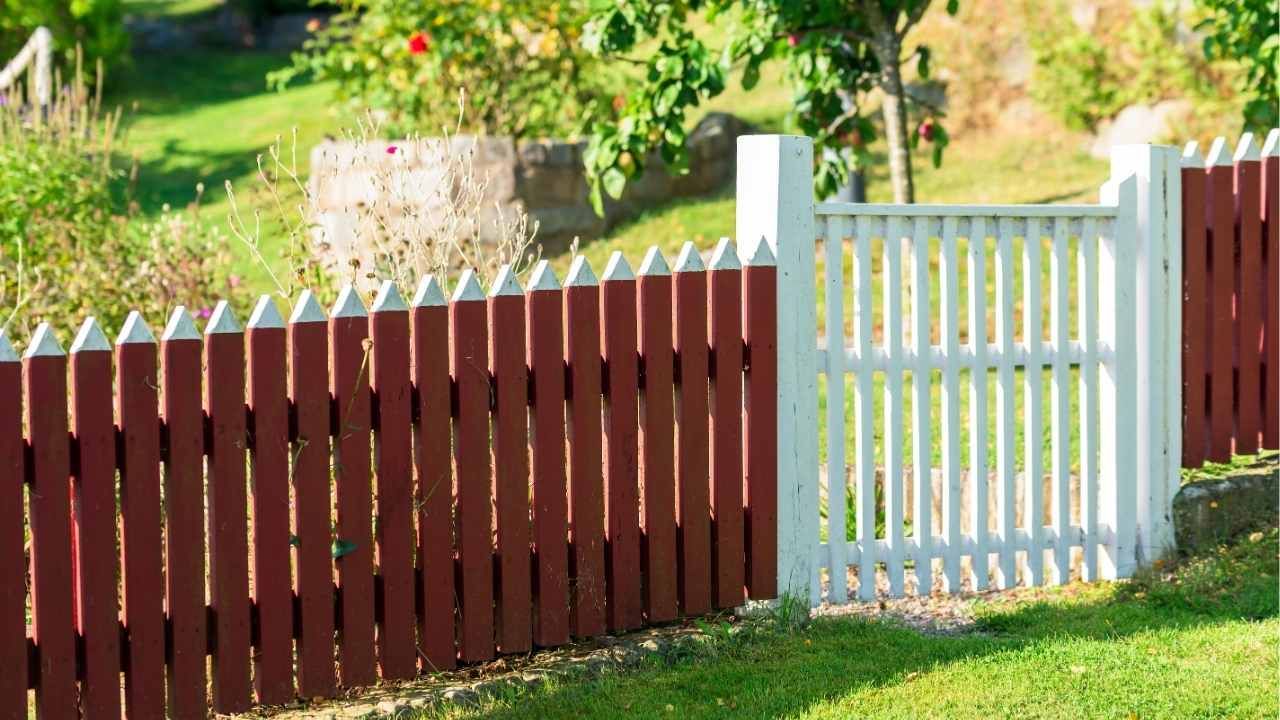
Step-by-Step Guide to Building a Sturdy Wood Fence
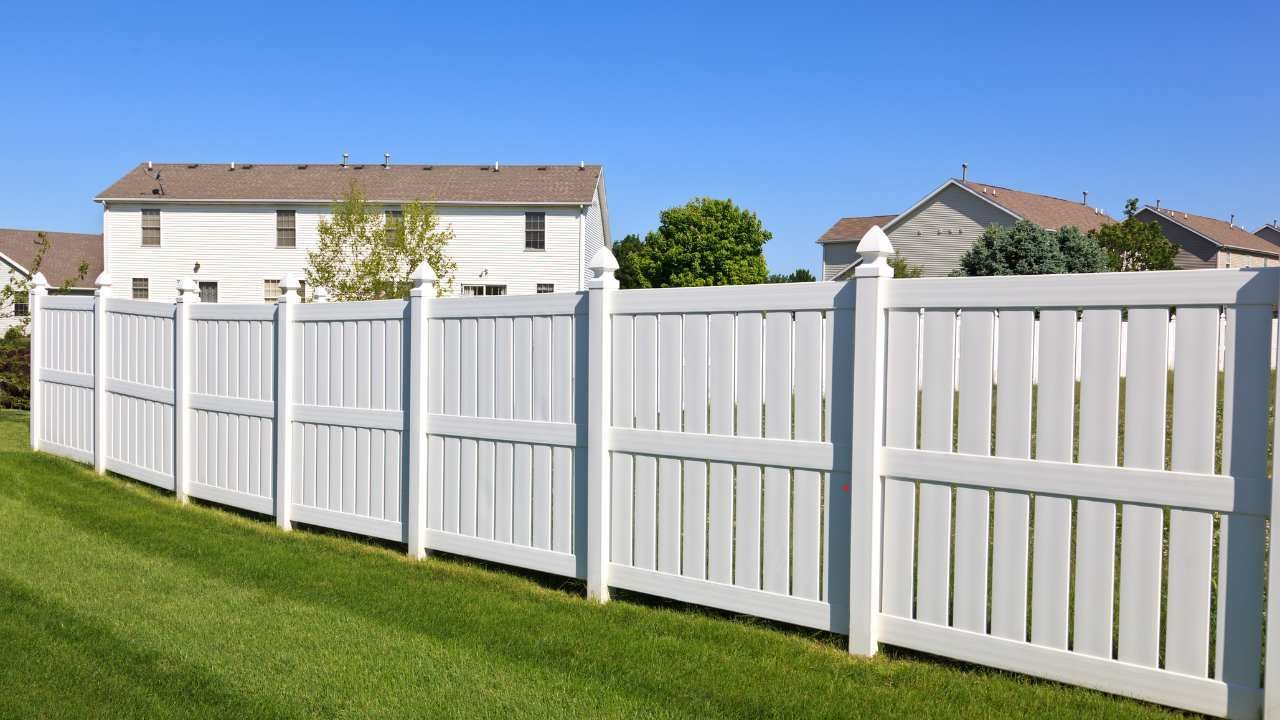
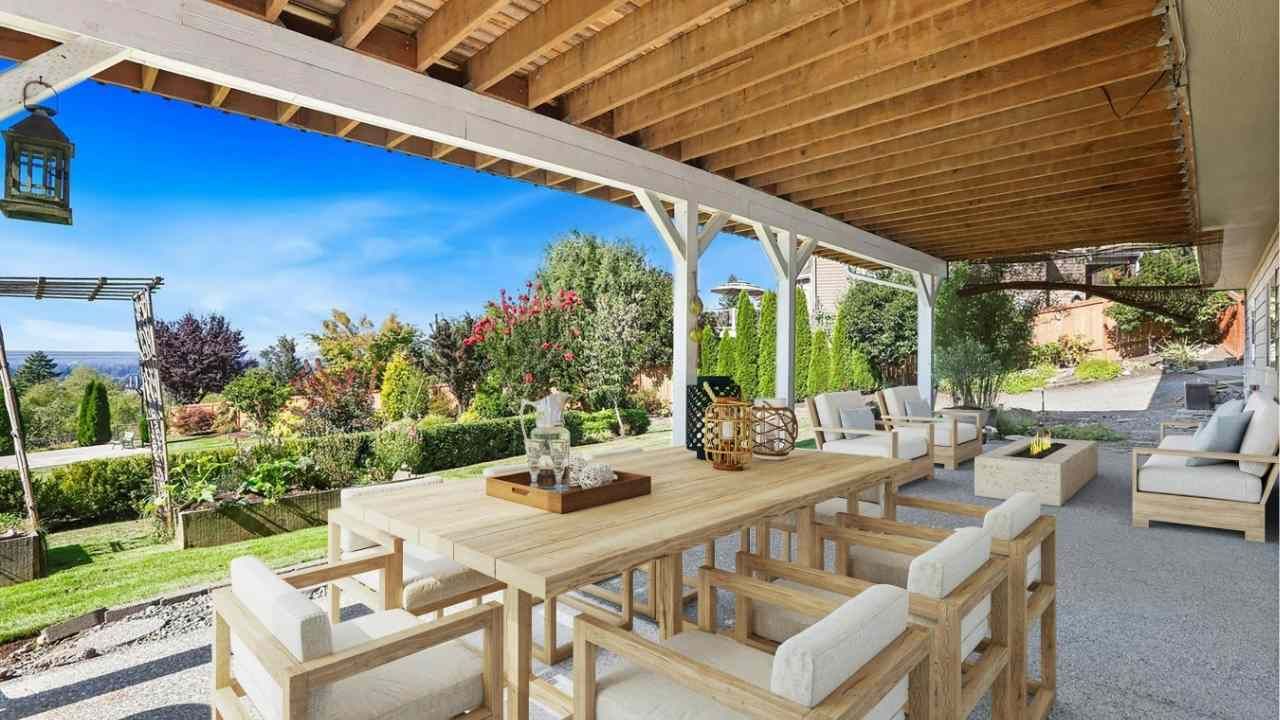
Looking to add privacy and charm to your Oregon backyard? A well-built wood fence does more than mark your property line—it enhances security, boosts curb appeal, and even raises your home’s value. And the best part? With the right tools and a little elbow grease, fence building can be a rewarding weekend project for DIY enthusiasts.
In this guide, we’ll walk you through each step of the process, from planning to finishing touches. Whether you’re starting fresh or replacing an old barrier, this will help you get it right the first time.
Plan Before You Dig
Every solid fence starts with a solid plan. Before lifting a shovel, ask yourself the following:
- What’s the purpose of the fence? Privacy, pet containment, aesthetics?
- How high should it be?
- What wood type suits Eugene’s rainy climate? (Cedar is a great choice.)
- Are there any HOA or city zoning rules?
Once you’ve sketched out a basic design, contact Oregon’s utility notification center (811) before digging. This ensures you avoid damaging buried lines—something that can turn a quick project into a costly nightmare.
Gather Materials and Tools
Here’s a quick shopping list for a standard wood fence:
- Fence boards (cedar or redwood)
- 4x4 pressure-treated posts
- Horizontal rails (2x4s)
- Gravel and concrete mix
- Galvanized nails or deck screws
- Post hole digger
- Level
- Circular saw
- Drill or nail gun
- Measuring tape and string line
Pro tip: Always buy 10–15% more boards than you think you need to cover waste or miscuts.
Install Posts with Precision
This is the most important structural step in fence building. Space posts 6–8 feet apart, depending on your fence style.
- Dig your post holes about 2–3 feet deep.
- Add gravel (6 inches) at the bottom for drainage.
- Set the post upright and pour in fast-setting concrete.
- Check alignment with a string line and use a level to keep it plumb.
- Let it cure for at least 24 hours before adding any weight.
Properly installed posts ensure your fence stands strong through Oregon wind and weather.
Attach Rails and Boards
Once the posts are secure, install horizontal rails (top, middle, and bottom). These act as the backbone of your fence.
- Use galvanized brackets or toe-nail the rails directly into the posts.
- Make sure everything is level and evenly spaced.
- When adding fence boards, start at one end and work across, checking vertical alignment frequently.
- Leave a small gap between boards for expansion and airflow.
Choose between board-on-board, shadow box, or solid styles depending on how much privacy you want.
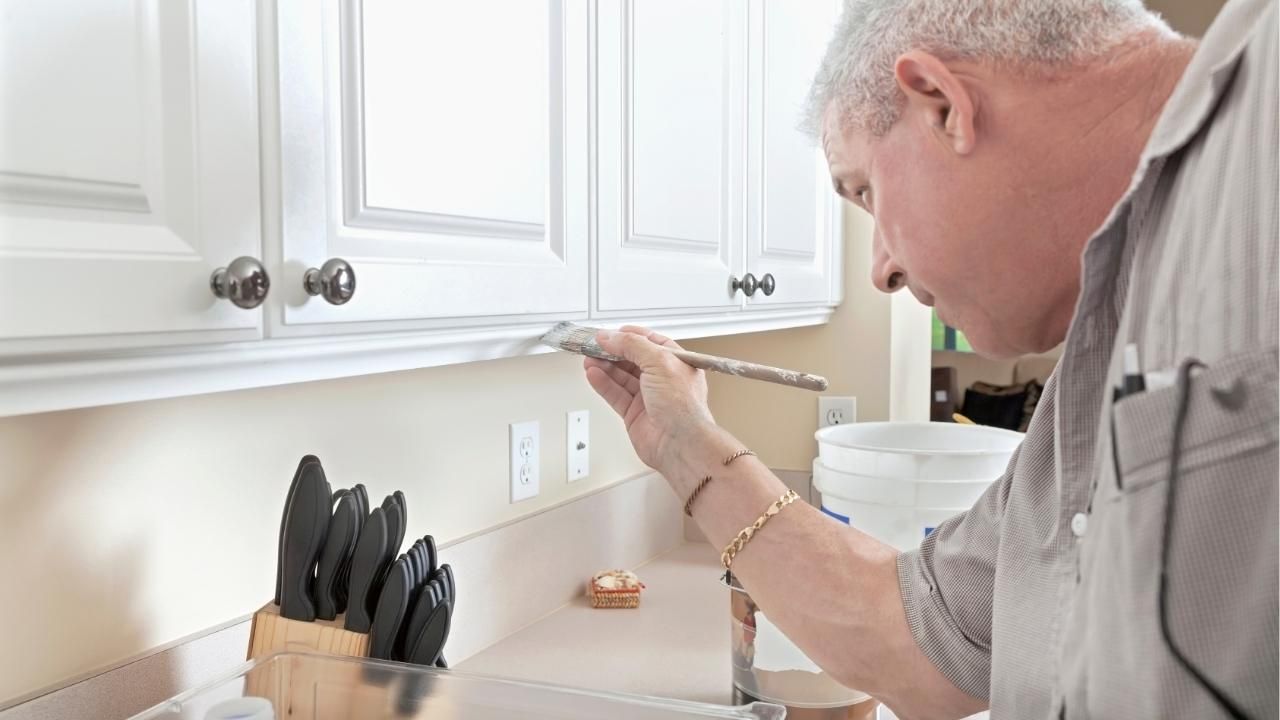
Finish With Protection
To maximize the life of your new wood fence, apply a protective finish. This is where Ash Painting can help. Known for both expert fence building and high-quality painting services in Central Oregon, they offer professional staining and sealing that protect wood from moisture, UV rays, and mildew—critical in Eugene’s damp climate.
Choose a stain that enhances your wood grain or a solid color to match your home’s exterior. Either way, applying a weather-resistant sealant is the final (and most overlooked) step that keeps your fence looking great for years.
Case Study: A Backyard Transformation in Eugene
When the Ramirez family in Oregon decided to upgrade their sagging chain-link fence, they chose cedar for its durability and aesthetics. After three weekends of dedicated work—guided by a similar step-by-step plan—they had a fence that not only gave them privacy but also became the backdrop for garden vines and family BBQs. “It completely changed our yard’s vibe,” said Mr. Ramirez. “We even had neighbors ask who we hired!”
Final Thoughts
A sturdy wood fence does more than enclose a yard—it creates a space that feels safe, cozy, and personal. With good planning, quality materials, and a weekend or two of focused effort, you can build one that lasts for decades.
Ready to bring your vision to life? Contact a local painting contractor to seal and protect your wood fence today.
Ash Painting Blogs