The Ultimate Guide to Priming Your Walls: Tips for a Flawless House Paint Finish
A flawless paint job starts long before the first brushstroke. If you want your home’s new color to look smooth, vibrant, and long-lasting, there’s one step you simply can’t skip: priming. Whether you’re repainting a bedroom or refreshing the entire house, priming your walls lays the foundation for professional-looking results.
In this guide, we’ll break down why priming matters, when it’s absolutely necessary, and how to do it right. Perfect for DIYers and homeowners hiring professionals alike—this is your roadmap to a better paint finish.
Why Priming Matters More Than You Think
Think of primer as the double-sided tape between your wall and the paint. It helps paint stick better, go on smoother, and last longer. Without primer, even high-end paint can peel, streak, or show imperfections.
Here’s what a good primer does:
- Seals porous surfaces (like new drywall or bare wood)
- Blocks stains and prevents them from bleeding through
- Creates an even surface for consistent paint color
- Improves paint adhesion, reducing the chance of peeling
If your goal is to create a finish that looks amazing and holds up over time, priming isn’t optional—it’s essential.
When You Should Always Use Primer
Not every wall needs to be primed, but many do. Here are situations where priming is a must:
- Bare drywall or unpainted wood: These surfaces soak up paint like a sponge. A primer seals them to prevent blotchiness.
- Drastic color changes: Switching from navy to white? Primer blocks the old color and helps you use fewer coats.
- Water stains, grease, or smoke damage: Stain-blocking primers can prevent these from ruining your final coat.
- Glossy or slick finishes: Paint won’t stick well to glossy surfaces. Primer creates a better grip.
- Patching and repairs: If you've filled holes or sanded uneven spots, priming blends the patched areas with the rest of the wall.
Even in cases where a wall seems ready to paint, priming can still improve the overall appearance and durability of the final finish.
How to Prime Your Walls Like a Pro
Priming isn’t complicated, but there are a few steps to ensure the best outcome:
1. Clean the surface: Dust, grease, and grime will interfere with adhesion. Use a mild detergent and let the wall dry completely.
2. Sand lightly: A quick sanding with fine-grit sandpaper smooths the surface and helps primer bond.
3. Tape and protect: Cover baseboards, trim, and furniture. Primer can splatter just like paint.
4. Choose the right primer:
- Water-based primers are great for drywall and general use.
- Oil-based primers work better for stained or wood surfaces.
- Stain-blocking primers are perfect for tough discolorations.
5. Apply evenly: Use a roller for large areas and a brush for edges. One coat is usually enough, but let it dry fully before painting—typically 1–4 hours.
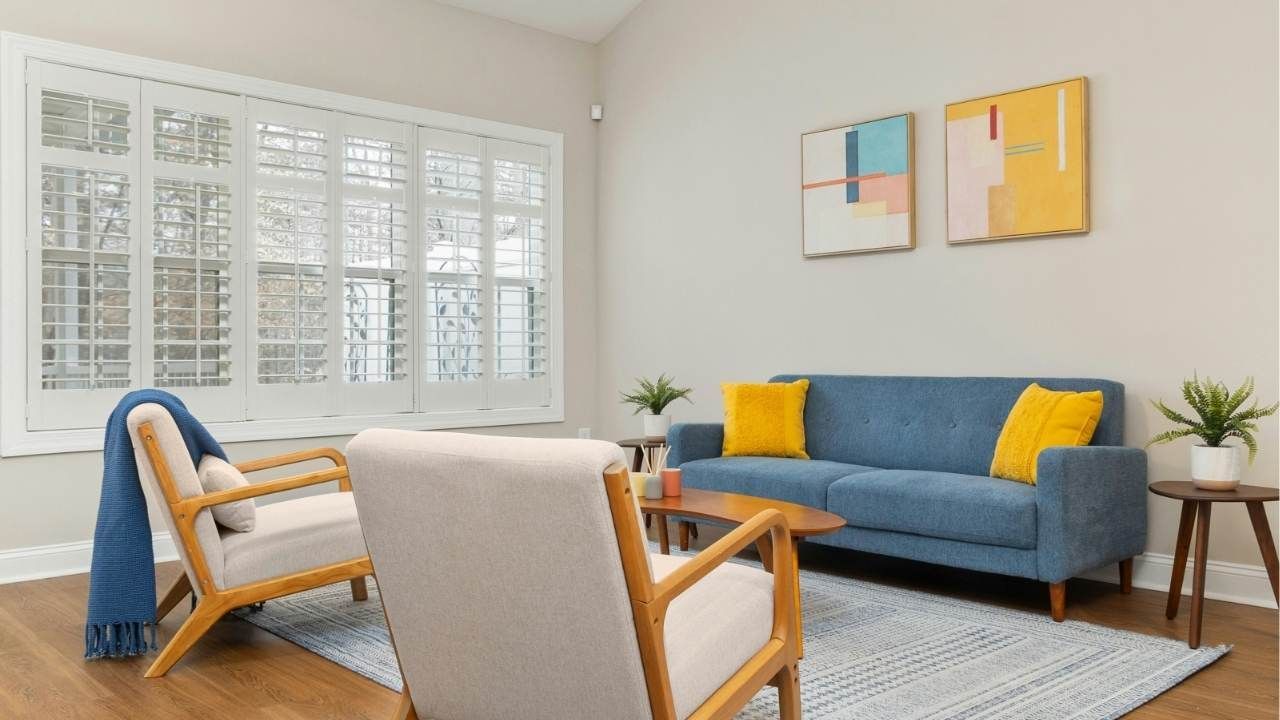
Case Study: Primer Saves the Day in Eugene
A recent homeowner in Oregon hired Ash Painting to refresh their living room, which had years-old paint and minor wall damage. Instead of rushing to paint, the interior painting team took time to properly prime the patched walls and sanded surfaces. The result? A smooth, vibrant finish that made the room feel brand new. It’s just one example of how seasoned painters Central Oregon residents rely on know that proper prep work—especially priming—makes all the difference in professional painting services.
Don’t Skip the Step That Sets the Tone
Priming may seem like a chore, but it’s one of the most important steps in any painting project. It saves time, improves results, and protects your investment. Whether you’re painting a single room or your whole home, do yourself a favor and don’t cut corners—prime those walls.
Ready for a picture-perfect finish? Start with primer. Contact us now to get started.
Ash Painting Blogs