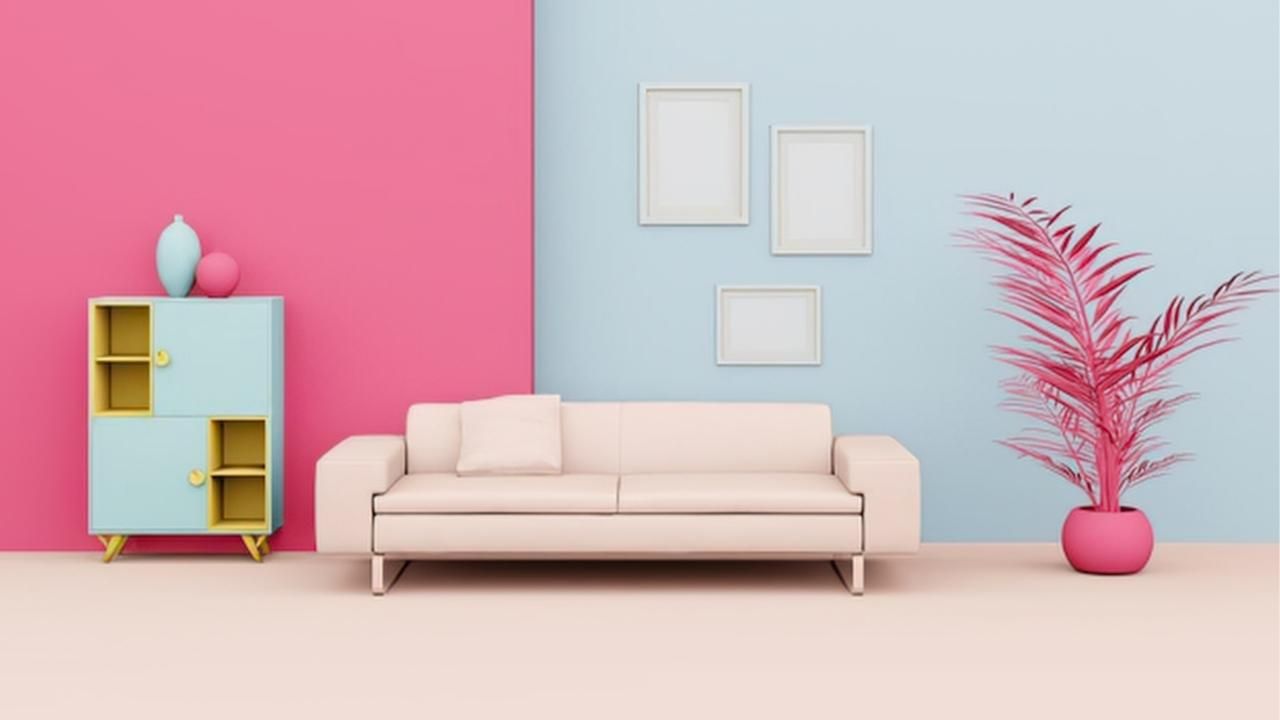
DIY Interior Painting: Tips for a Professional-Looking Finish

A fresh coat of paint can completely transform a room. The right color and finish can make a small space feel bigger, brighter, and more inviting almost instantly. But while painting may look simple, achieving that smooth, professional finish takes more than just a brush and a bucket.
In this guide, you’ll learn practical DIY interior painting tips that help you avoid common mistakes and get cleaner, more polished results. From proper preparation to finishing touches, these strategies will help your next painting project look like it was done by the pros.
Start with Proper Preparation
Most people rush straight to painting, but preparation is where the real magic happens. Professional painters know that the final result depends heavily on the prep work.
Even a skilled painting contractor in Central Oregon will tell you that skipping prep is the fastest way to ruin a paint job.
Before opening your paint can, take these important steps:
- Clean the walls to remove dust, grease, and stains
- Fill nail holes and cracks using spackle or patching compound
- Sand rough spots to create a smooth surface
- Use painter’s tape to protect trim, outlets, and baseboards
- Lay down drop cloths to protect floors and furniture
Clean, smooth walls help paint adhere properly and prevent uneven texture or peeling later.
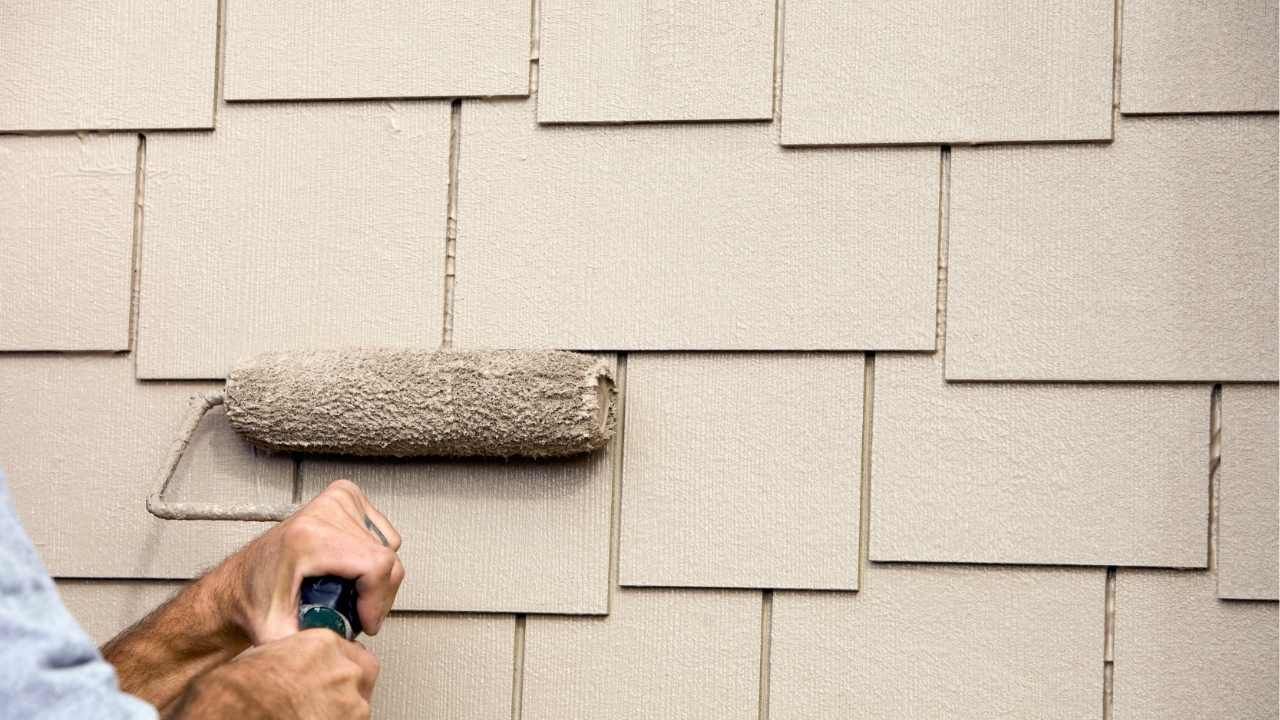
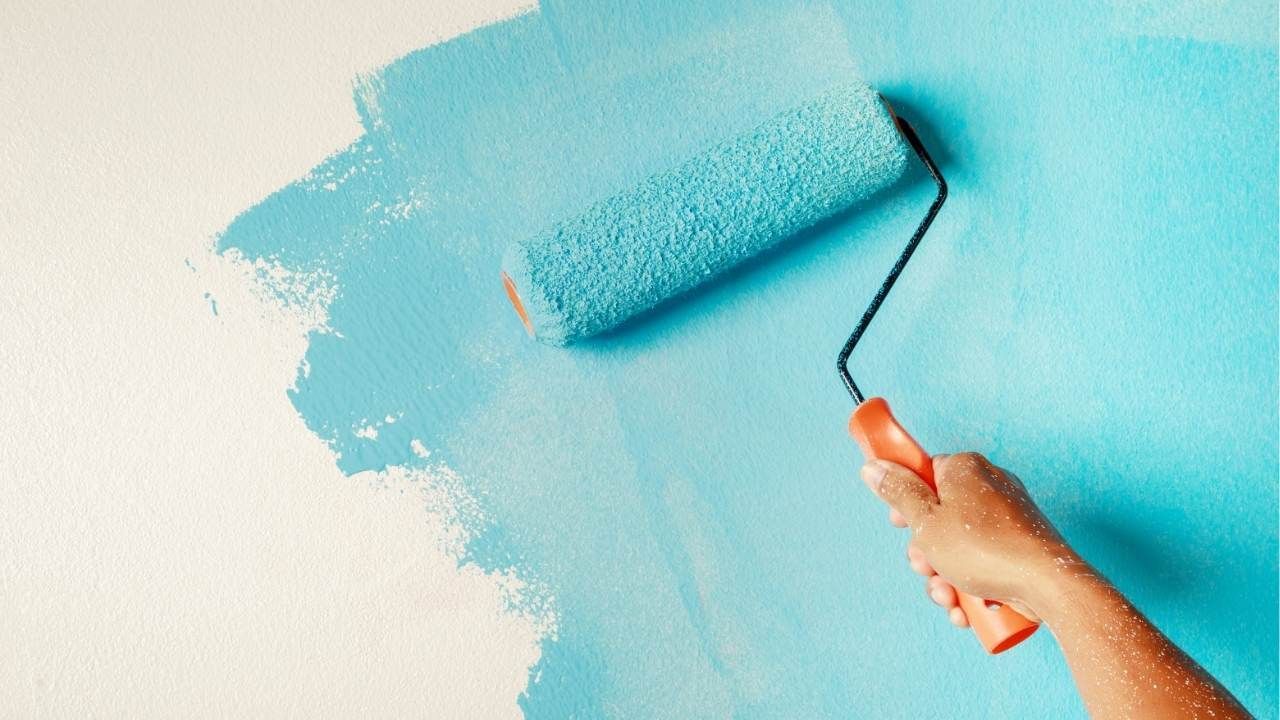
Choose the Right Tools and Paint
Using high-quality materials can make a huge difference in the final result. Cheap brushes often leave streaks, and low-quality rollers can shed lint onto your walls.
While many homeowners try DIY painting, professional interior painting contractors rely on specific tools to produce clean, consistent finishes.
For best results, consider the following:
- Angled brushes for cutting along corners and trim
- High-quality roller covers for even coverage
- Extension poles to reach high areas without ladders
- Primer for new drywall or darker color changes
- Paint with the right sheen for each room
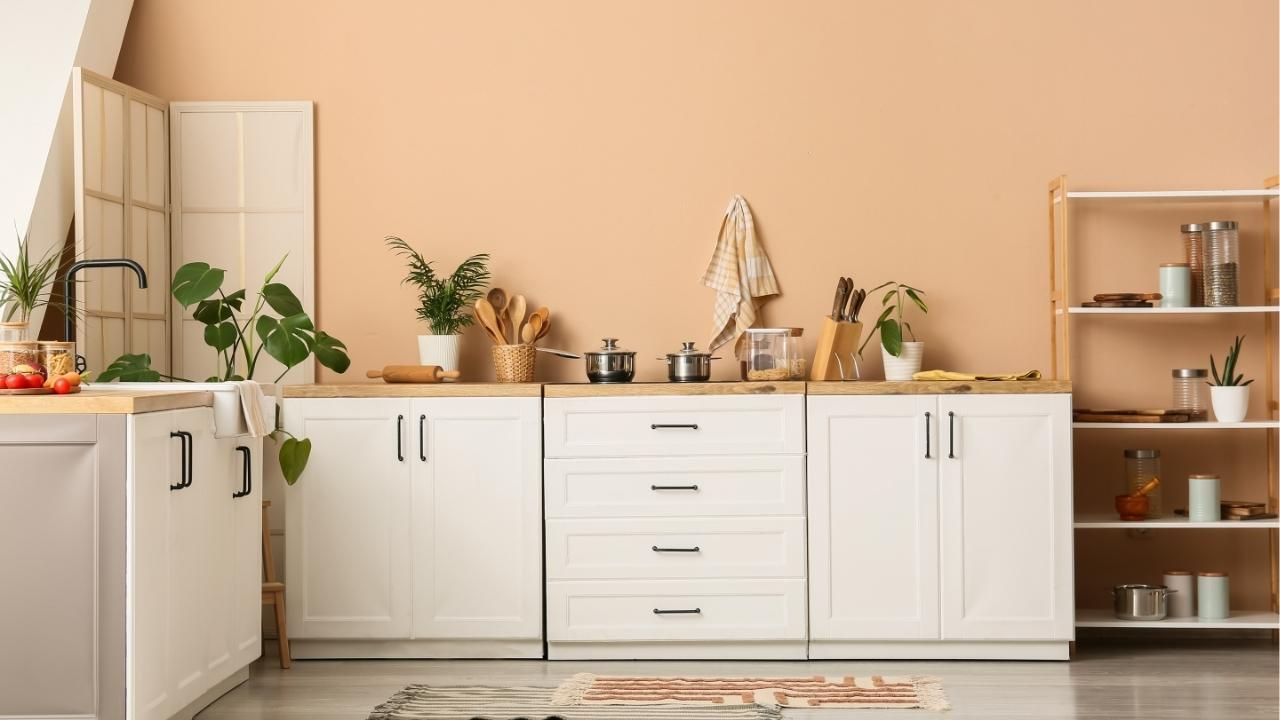
Common paint finishes include:
- Flat/Matte: Best for ceilings and low-traffic areas
- Eggshell: Popular for living rooms and bedrooms
- Satin: Durable enough for kitchens and hallways
- Semi-gloss: Ideal for trim, doors, and cabinets
Choosing the right combination of tools and paint helps create that professional appearance.
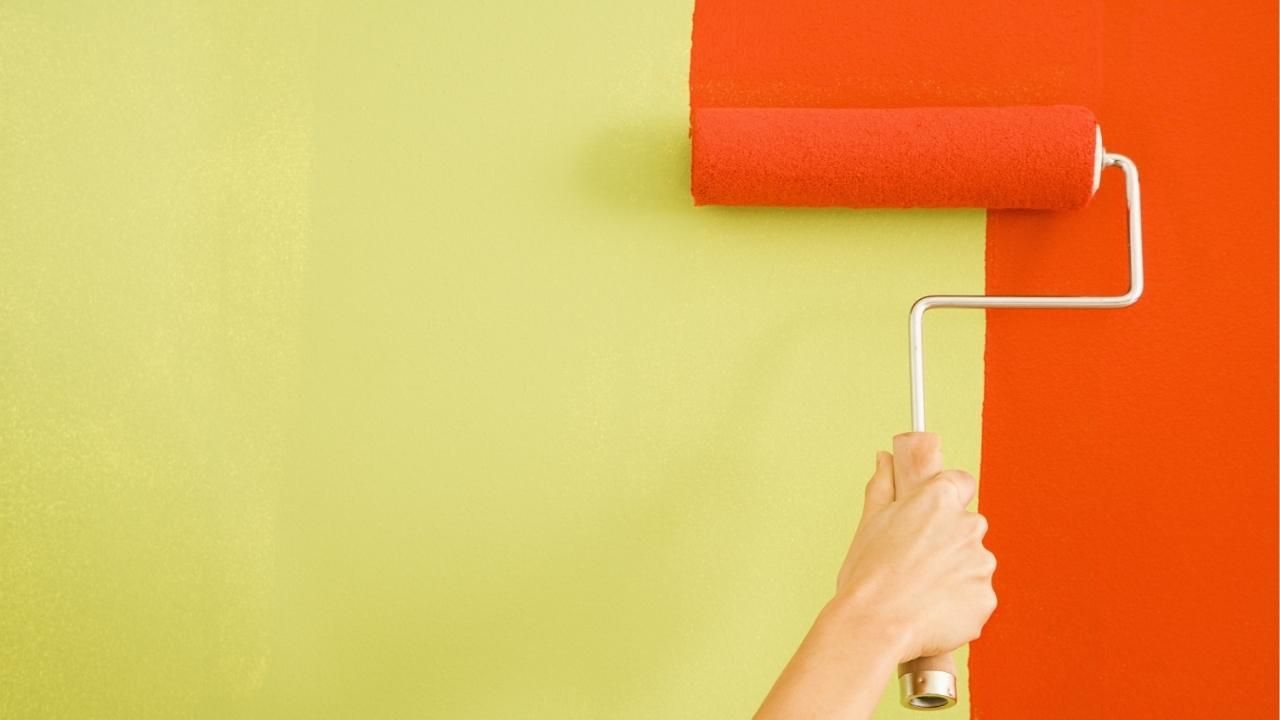
Apply Paint the Right Way
Technique matters just as much as preparation. Applying paint incorrectly can lead to streaks, roller marks, or uneven coverage.
Many homeowners who attempt DIY projects later end up hiring painting services to correct mistakes that could have been avoided.
To apply paint like a professional:
- Cut in edges first using a brush before rolling large sections
- Use a “W” or “M” rolling pattern to spread paint evenly
- Avoid overloading the roller with too much paint
- Work in small sections to maintain a wet edge
- Apply two thin coats instead of one thick coat
Patience during this stage makes a huge difference. Thin, even layers create a smoother finish and reduce visible lines.
Case Study: A Weekend Living Room Transformation
A homeowner in Bend wanted to refresh their dated living room but didn’t want to hire professionals right away. After researching proper DIY techniques, they spent a full day preparing the room by cleaning walls, patching small dents, and carefully taping trim.
Using high-quality brushes and rollers, they applied primer and two coats of soft gray paint using the recommended rolling technique. The results surprised them. The finish looked smooth, even, and clean, with crisp edges around the ceiling and baseboards.
What could have been a frustrating project turned into a successful weekend upgrade that made the entire room feel modern and refreshed.
Don’t Rush the Final Details
The last steps often determine whether your paint job looks average or outstanding.
Before calling the project finished:
- Inspect the walls in natural and artificial lighting
- Touch up any thin or missed spots
- Carefully remove painter’s tape before the paint fully dries
- Clean brushes and rollers properly for future use
These small details elevate the overall look and ensure your hard work pays off.
A DIY paint project can dramatically improve your home when done correctly. But if you want guaranteed results, faster completion, and expert-level finishes, working with experienced professionals may be the better option.
Contact a trusted local painting expert today to discuss your next interior painting project and bring your vision to life.
Ash Painting Blogs