How to Prep for Painting in Bend Oregon
A fresh coat of paint can completely transform your home, inside or out. But before you dive into your next painting project, proper preparation is key—especially if you want smooth, long-lasting results that look like they came straight from a pro. Whether you’re planning to DIY or hire an exterior painter in Bend Oregon like Ash Painting, the secret to success lies in how you prep your surfaces.
In this guide, we’ll walk through everything you need to know to get your Bend home ready for interior and exterior painting—from cleaning and repairs to priming and weather considerations.
1. Start with a Clean Surface
Paint needs a clean, dry surface to adhere properly. Before doing anything else, give your walls a thorough cleaning.
- Exterior walls: Use a pressure washer or garden hose with a scrubbing brush and mild detergent to remove dirt, mildew, and peeling paint. Be gentle with wood siding and more aggressive with concrete or stucco.
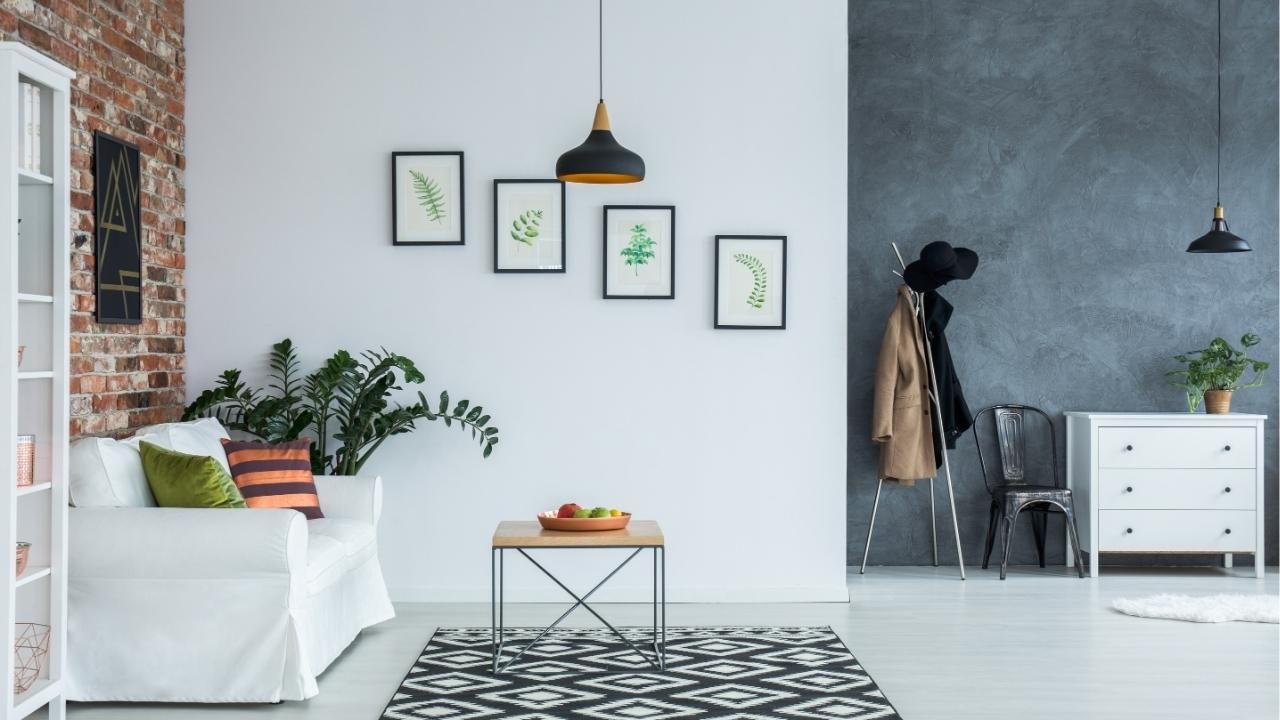
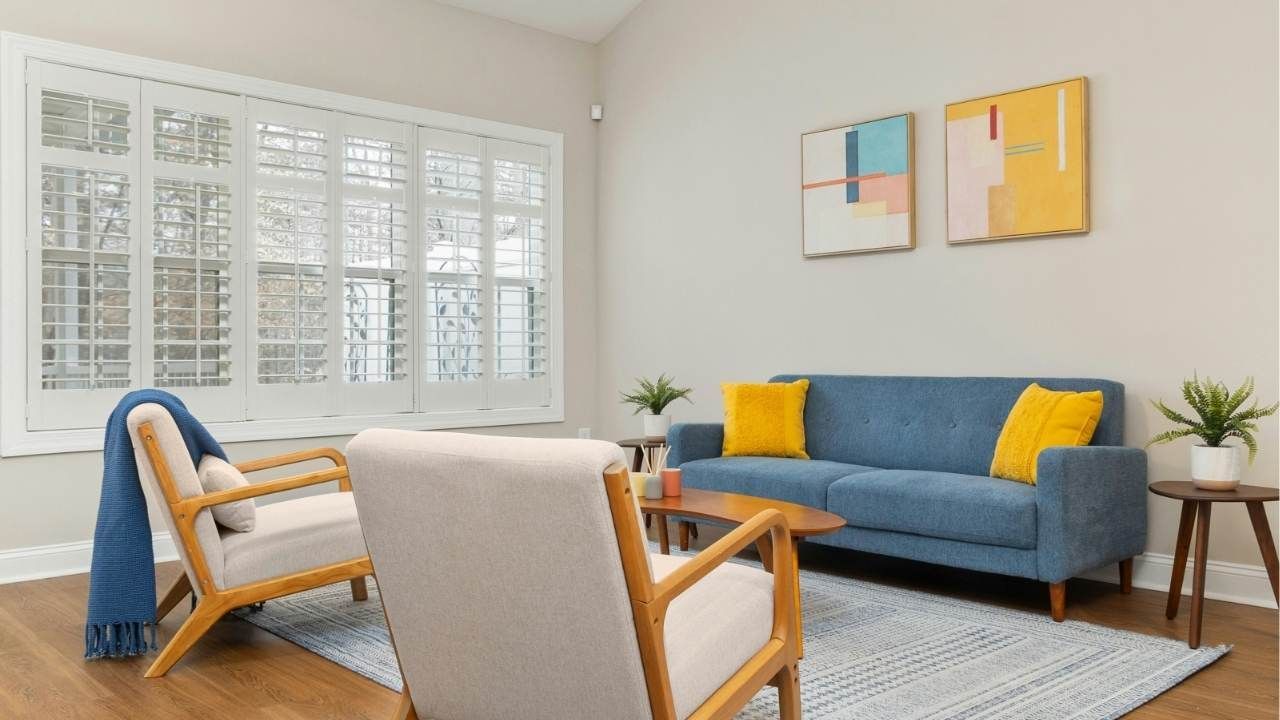
- Interior walls: Wipe down with warm, soapy water, especially in kitchens or bathrooms where grease and moisture collect.
Allow the surfaces to dry completely before moving to the next step. In Bend’s climate, this could take a day or two depending on humidity levels.
2. Check for Damage and Repair Imperfections
Once clean, inspect all surfaces for cracks, dents, rot, or peeling paint. Damaged surfaces not only look bad but can cause your new paint to fail prematurely.
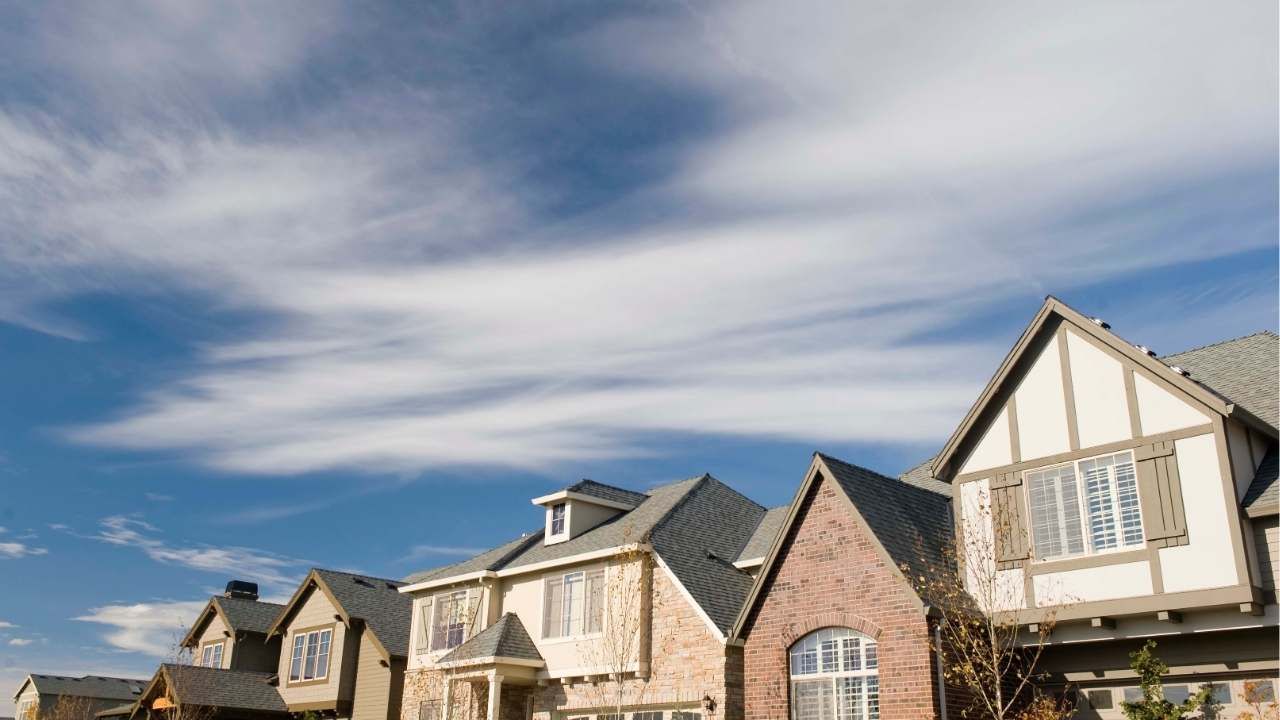
- Exteriors: Look for gaps around windows, loose boards, and signs of moisture damage. Fill cracks with caulk and replace rotted wood.
- Interiors: Use spackling paste to patch small holes, sand rough areas, and make sure surfaces are smooth.
A little extra time spent repairing now can save you from redoing work later.
3. Sand and Scrape Away Flaws
Sanding helps create a smooth surface that allows paint to grip better. Use medium- to fine-grit sandpaper depending on the material. Remove any loose or chipping paint—especially important for older homes in Bend where temperature swings can cause paint to peel.
For large exterior projects, an orbital sander can speed things up. Just remember to wear safety gear and avoid inhaling dust, particularly if the home was built before 1978, as older paints may contain lead.
4. Prime Like a Pro
Primer is one of the most overlooked steps, yet it’s essential for professional-quality results. It seals porous surfaces, evens out color, and helps the paint last longer.
- Use a stain-blocking primer for walls that have discoloration or previous dark paint.
- Opt for a bonding primer if painting over glossy or slick surfaces.
- Exterior primers protect against moisture and sun damage—ideal for Bend’s cold winters and dry summers.
Allow primer to cure fully according to the manufacturer’s instructions before applying your main color.
5. Protect Your Space and Surroundings
Good preparation isn’t just about the walls—it’s about keeping everything else safe too.
- Cover furniture, plants, and walkways with drop cloths or plastic sheeting.
- Use painter’s tape to protect trim, window frames, and edges.
- Remove outlet covers and light fixtures for cleaner, sharper lines.
These small details make a big difference in how polished your final result looks.
6. Time It Right
Bend’s high-desert climate means timing matters. For exterior projects, aim for days between 50°F and 80°F with low humidity. Avoid painting in direct sunlight or just before rain. For interiors, make sure there’s good ventilation to help paint dry evenly and reduce fumes.
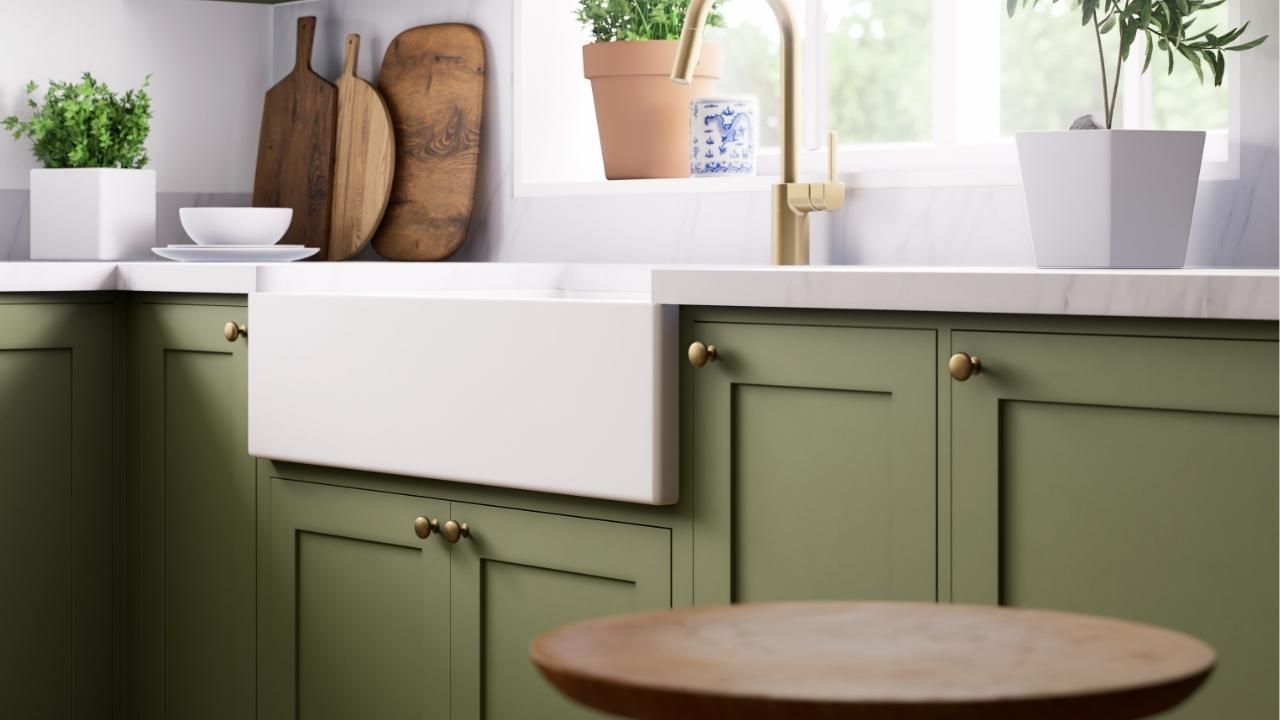
Case Study: A Bend Home Reborn
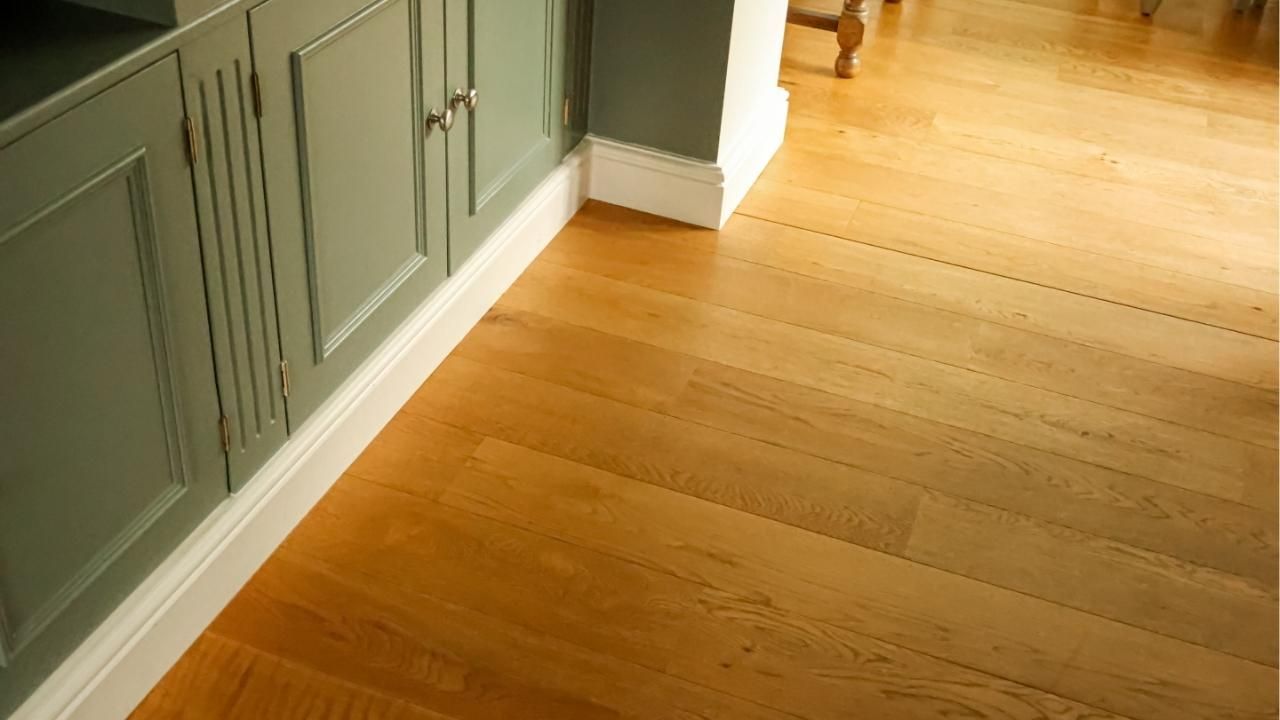
When a family in Bend decided to update their 1980s ranch-style home, they didn’t realize how much prep mattered. After power washing, patching cracked stucco, and priming the entire exterior, the transformation was stunning. Their once-faded beige walls became a crisp, modern sage green that held up beautifully through both winter snow and summer heat. The key? Careful prep work that made the paint not just beautiful—but durable.
Final Thoughts
Preparation may not be the most glamorous part of painting, but it’s the foundation for professional-looking results. Clean thoroughly, repair carefully, and prime properly. Whether you’re refreshing a single room or giving your whole home a new look, a little patience up front ensures your hard work lasts for years.
Ready to transform your space? Contact us to start prepping today and see how much difference great prep can make on your next painting project.
Ash Painting Blogs