How to Prepare a Room for Painting in Central Oregon
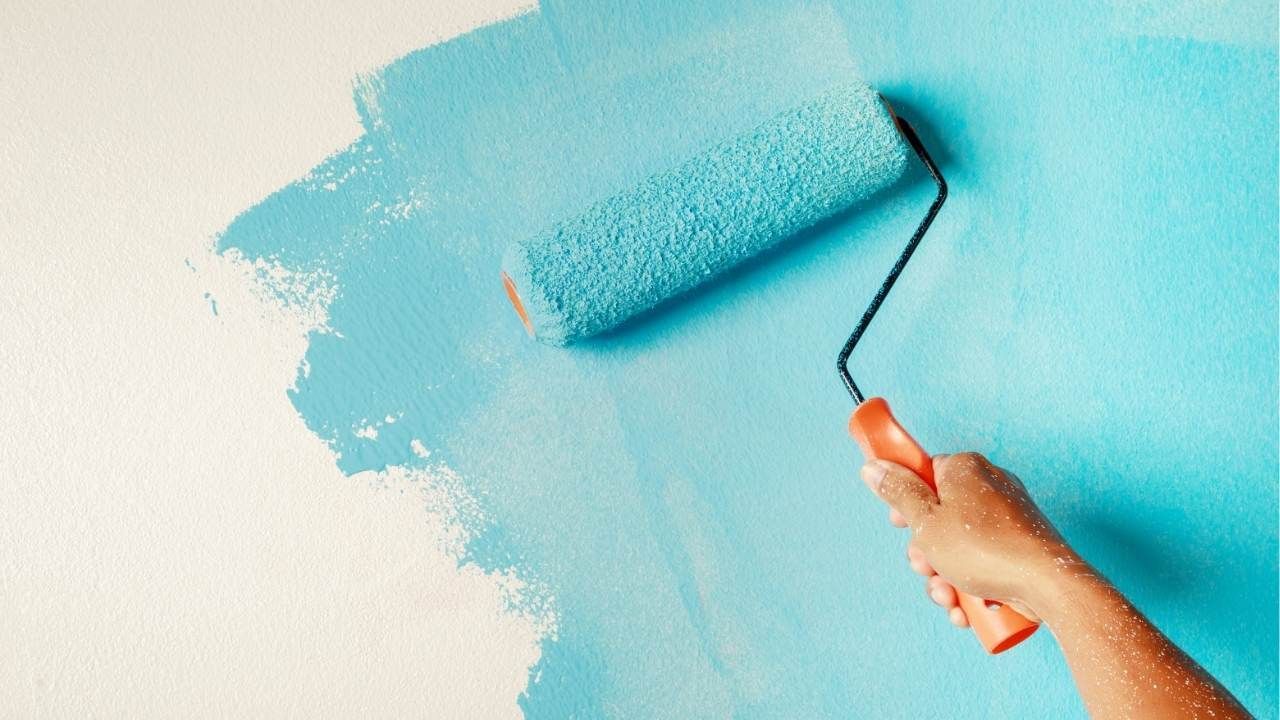
Painting a room sounds simple—just grab a brush and start rolling, right? Not quite. A smooth, flawless finish starts long before the paint touches the wall. The prep work you do beforehand can make or break your final result.
In this post, we’ll walk you through exactly how to prepare a room for painting, from cleaning and sanding to taping and priming. Whether you’re tackling a DIY project or hiring a painting contractor near you, this guide will help you achieve that professional, polished look.
Step 1: Clear and Protect the Space
Start by removing as much as possible from the room. Furniture, wall art, light switch plates, curtains—anything that can get in the way. If something is too heavy to move, push it to the center and cover it with plastic sheeting or a canvas drop cloth.
You’ll also want to cover the floors completely. Paint has a sneaky way of splattering, no matter how careful you are. Use rosin paper or thick drop cloths for durable protection.
Pro tip: If you’re working with Ash Painting of Central Oregon, their crew handles all the setup and protection for you, saving you hours of prep time and ensuring nothing gets damaged in the process.
Step 2: Clean the Walls Thoroughly
Paint sticks best to clean, dry surfaces. Dust, grease, or even fingerprints can prevent paint from adhering properly, leading to uneven patches or peeling later on.
- For general dirt, use a sponge and mild detergent.
- For kitchen or bathroom walls, mix a bit of degreaser or vinegar with warm water.
- Always let walls dry fully before moving to the next step.
Even if the walls “look clean,” washing them down ensures better coverage and longer-lasting results.
Step 3: Patch, Sand, and Smooth
Now’s the time to fix imperfections. Use spackling paste or joint compound to fill small holes, nail pops, or cracks. Once dry, sand the patched areas until smooth.
A light sanding of the entire wall (especially glossy surfaces) helps the new paint grip better. Don’t forget to wipe down the dust afterward with a damp cloth or tack cloth.
If you’re not confident in your patching or sanding skills, it’s worth calling interior painting experts to handle the prep for you. They’ll ensure the surface is completely ready for primer, which is key for professional-quality results.
Step 4: Tape Off Edges and Fixtures
Painter’s tape is your best friend for crisp, clean lines. Apply it along baseboards, door frames, window trim, and ceiling edges. Press the tape down firmly with a putty knife to prevent paint bleed.
If you have ceiling fixtures or wall sconces, wrap them carefully in plastic and tape them off. It’s tedious, but it saves you from having to scrape off dried paint later.
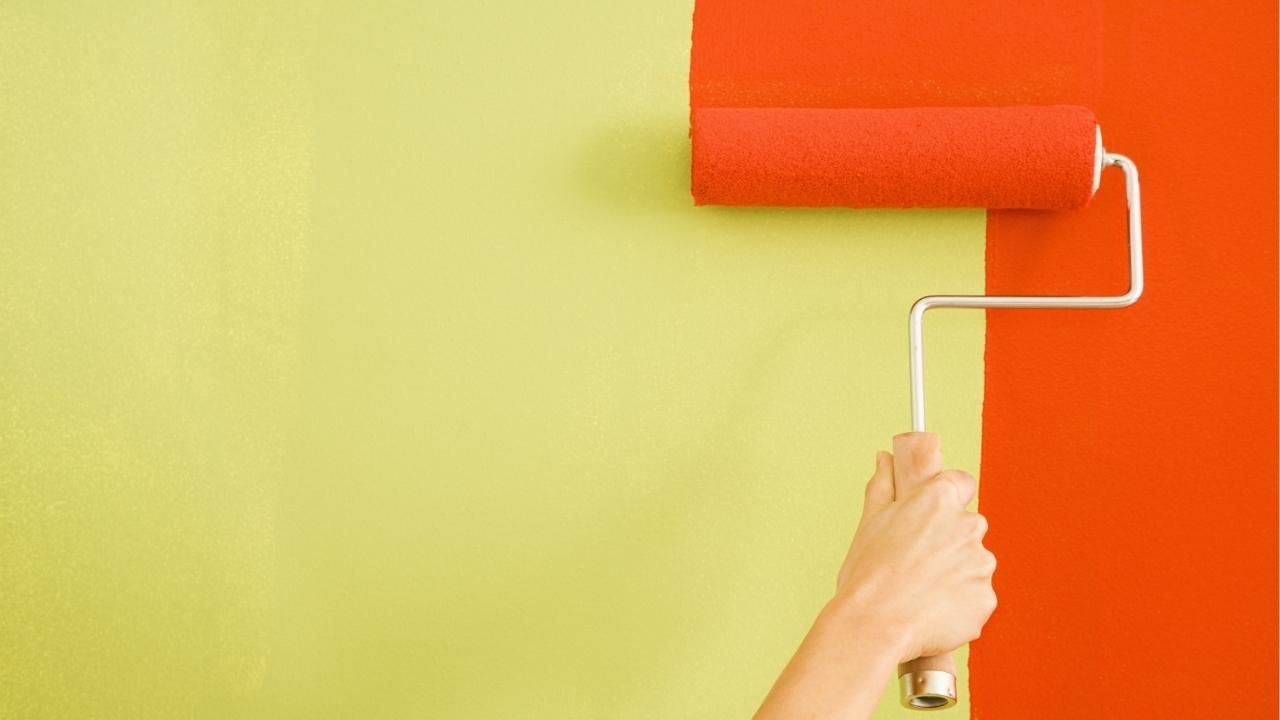
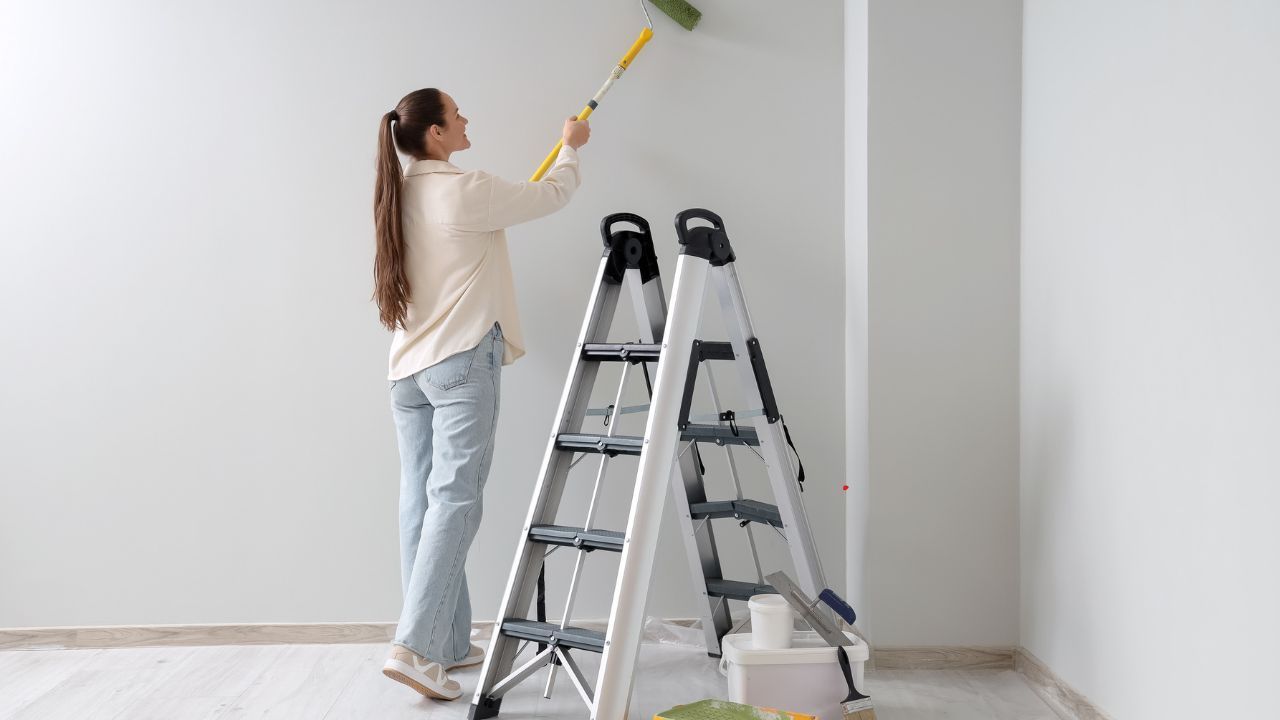
Step 5: Prime Before You Paint
Primer is like the foundation for your wall’s new look—it seals the surface, evens out color, and helps paint stick better. Use a primer suited to your wall type (drywall, wood, or previously painted surfaces).
If you’re changing from a dark color to a light one, primer is absolutely essential. Once it’s dry, lightly sand the primer coat for extra smoothness before applying your first layer of paint.
Step 6: Inspect and Finalize
Before opening that first can of paint, walk around the room and double-check your prep work. Are all surfaces clean? Tape sealed? Drop cloths secure? The extra few minutes you spend now will make the painting process faster and cleaner.
Case Study:
When a local homeowner in Central Oregon hired a professional painter to refresh their living room, they were surprised to learn that more than half the project time went into preparation. The team removed furniture, repaired drywall damage, and primed every surface. The result? A sleek, modern look that stayed flawless for years—proof that great prep leads to great results.
Final Thoughts
Proper preparation isn’t just a formality—it’s the foundation for a lasting, beautiful paint job. Whether you’re doing it yourself or hiring professionals, a well-prepped space ensures every stroke counts.
Ready to give your space a fresh start? Schedule a free consultation with trusted local pros and discover why so many homeowners choose expert care when searching for a “painting contractor near me in Central Oregon.”
Ash Painting Blogs