How to Properly Prep a Room for Painting: A Step-by-Step Guide
A flawless paint job doesn’t start with the brush—it starts with the prep. Many DIY painters rush into the fun part, only to end up with streaks, uneven color, or peeling paint months later. The secret to long-lasting, professional-looking results is in the preparation.
In this guide, you’ll learn exactly how to prepare a room for painting, step by step, so your efforts pay off with a smooth, beautiful finish.
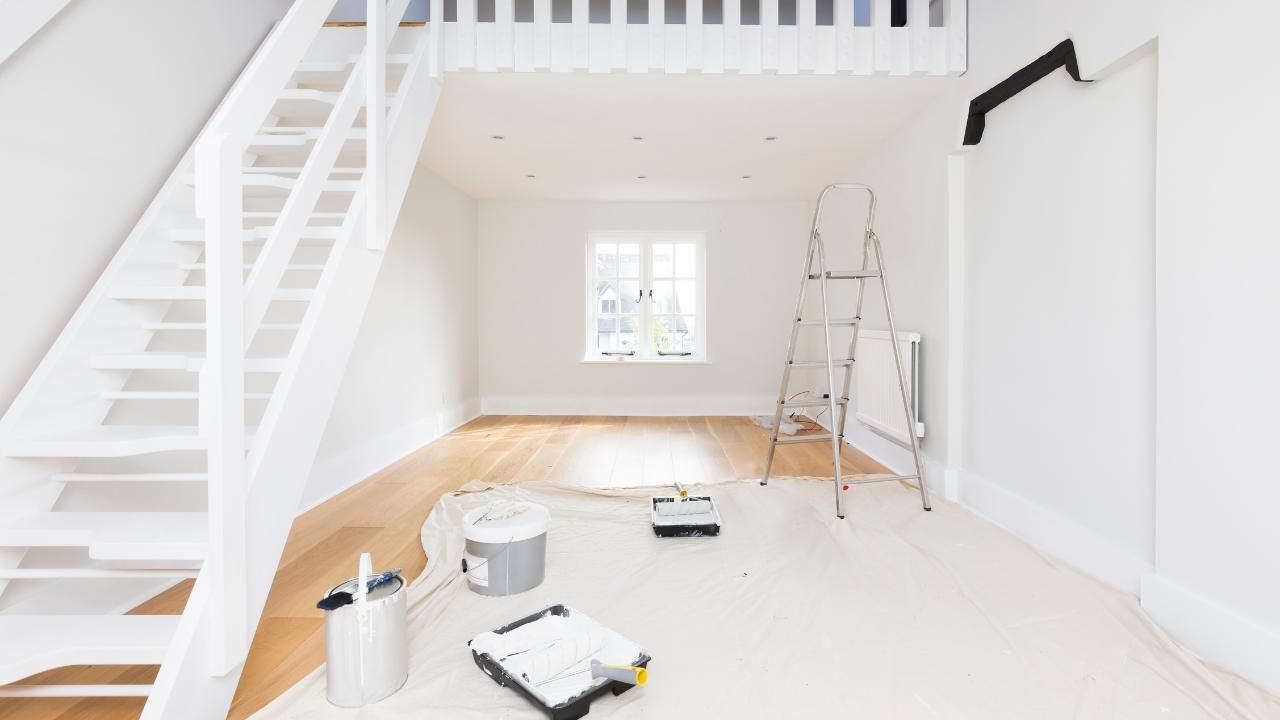
Step 1: Clear and Protect the Space
Before you even open a paint can, give yourself a clean, open area to work. Remove as much furniture as possible. For larger items that can’t be moved, push them to the center of the room and cover them with a plastic drop cloth.
Key tips:
- Lay canvas or plastic drop cloths over the entire floor to protect it from drips and spills.
- Remove curtains, blinds, rugs, and any wall decor.
- Take off switch plates and outlet covers to avoid messy edges.
This step not only protects your belongings but also gives you the freedom to move around without worrying about accidental splashes.
Step 2: Clean and Repair Surfaces
Paint adheres best to clean, smooth surfaces. Dust, grime, and minor damage can prevent the paint from sticking properly.
Here’s what to do:
- Wipe down walls with a damp cloth or a mild soap-and-water solution.
- For greasy areas (like kitchens), use a degreaser.
- Fill small holes or cracks with spackling paste.
- Sand patched areas until they’re flush with the wall.
Think of it like painting on a fresh canvas—imperfections you ignore now will only be more obvious once the new color is up.
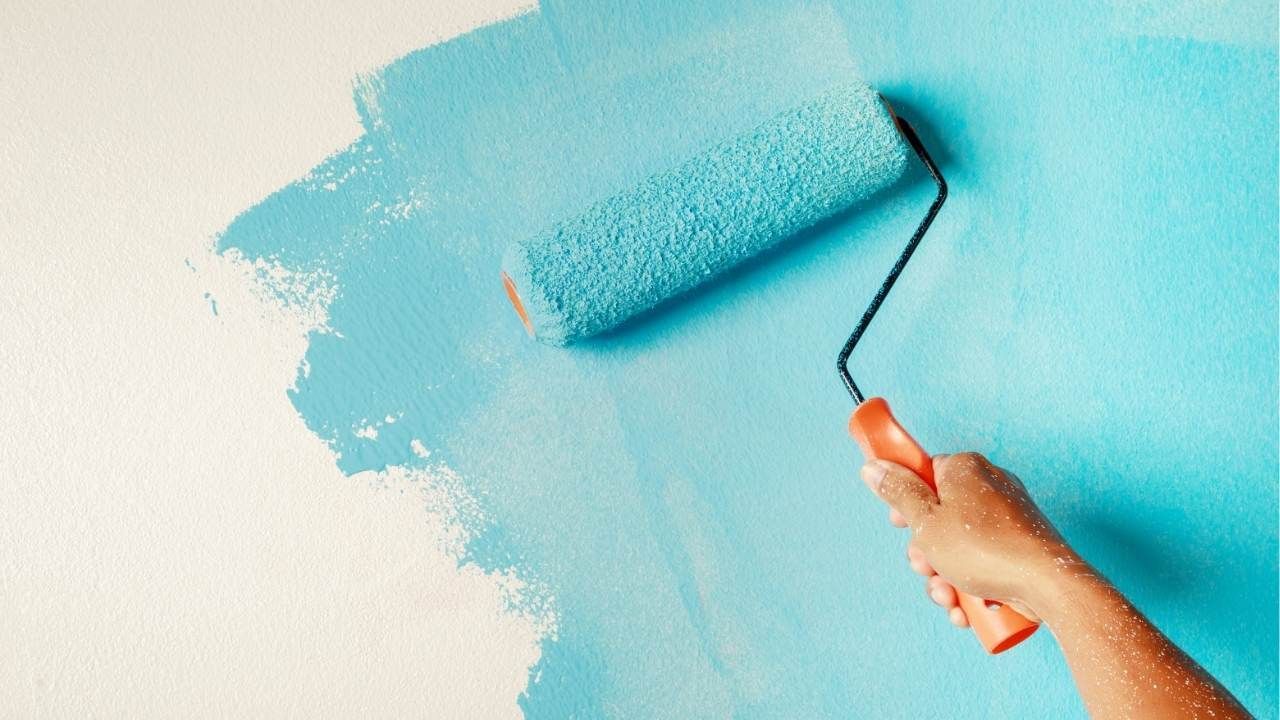
Step 3: Tape Off Edges and Trim
Painter’s tape is your best friend when aiming for crisp, professional lines. Apply it along baseboards, window frames, and door trim. Press it down firmly to prevent paint from bleeding underneath.
Pro tip: Remove the tape while the paint is still slightly wet. Waiting until it’s completely dry can sometimes cause peeling.
Step 4: Prime for Perfection
Many people skip primer, but it can make a huge difference—especially if you’re covering dark colors, painting new drywall, or switching from a glossy finish to a matte one. Primer helps the paint adhere better and ensures a more even color.
- Use a roller for large wall areas and a brush for corners.
- Let the primer dry completely before painting.
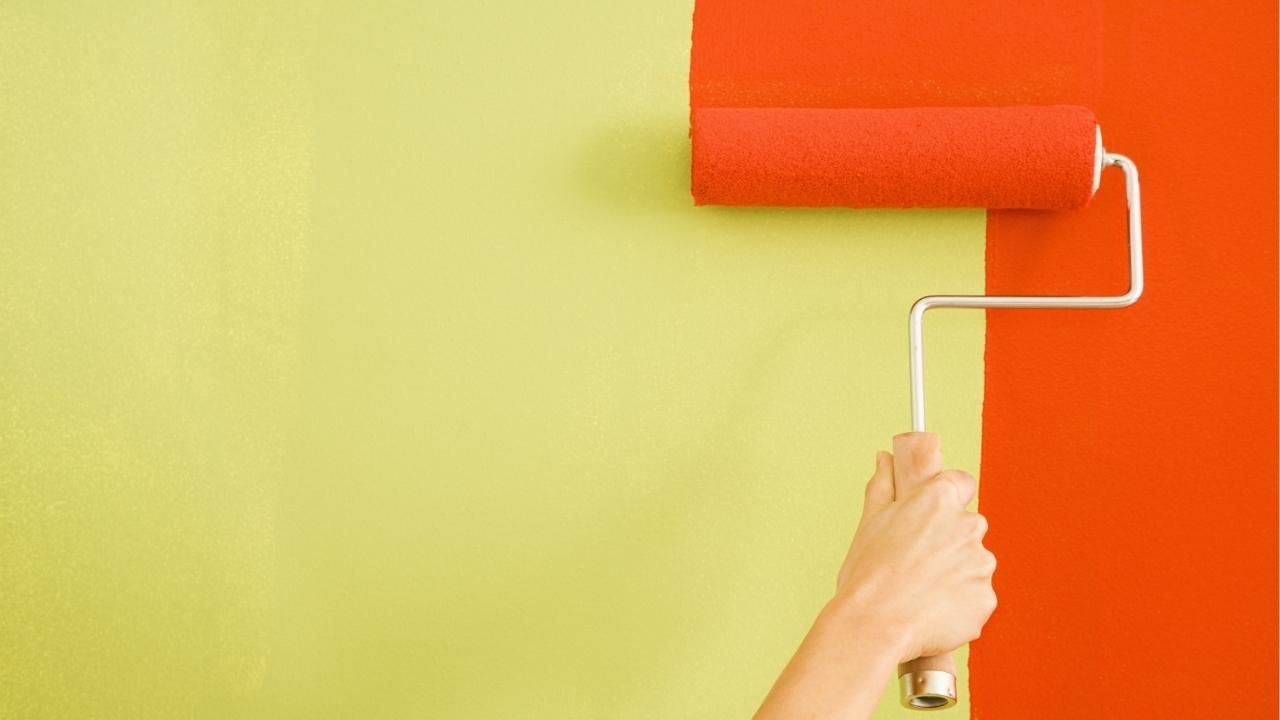
Step 5: Plan Your Painting Strategy
Before you dip your brush, decide where you’ll start and how you’ll move through the room. Most professionals begin with the ceiling, then the walls, and finish with trim and doors.
Keep in mind:
- Use a brush for edges and tight spots, and a roller for open areas.
- Work in small sections to keep edges wet and avoid lap marks.
Case Study: From Dull to Dazzling
When the Johnson family decided to update their living room, they hired Ash Painting for a full refresh. The crew followed a meticulous prep process—moving furniture, repairing nail holes, and priming the walls before applying the new color. The result was a vibrant, flawless finish that transformed the room. The Johnsons were so thrilled with the outcome that they booked additional painting services for their kitchen and hallway.
Proper preparation takes time, but it’s worth every minute. Whether you’re doing it yourself or working with professional painters Central Oregon homeowners trust, following these steps will give you a finish that looks amazing and lasts for years.
Ready to transform your space? Start by prepping it right—and if you want guaranteed perfection, contact us to consider having the house painting pros handle it.
Ash Painting Blogs