How to Achieve a Smooth, Professional Finish on Trim and Doors

There’s nothing like freshly painted trim and doors to breathe new life into a space. Whether you’re sprucing up your Central Oregon home’s interior or adding the finishing touches to a remodel, achieving that flawless, professional-grade finish can make all the difference. But how do you get there without the streaks, drips, or uneven surfaces?
In this guide, we’ll walk you through the process step by step, sharing tips and tricks that even first-time painters can use to make their trim and doors look like they’ve been done by a pro.
Prep Like a Pro
Preparation is everything when it comes to painting trim and doors. The smoother the surface you start with, the better your final results.
Clean the Surface
Start by wiping down your trim and doors with a damp cloth or mild soap solution to remove dust, dirt, and grease. Clean surfaces hold paint better and prevent imperfections.
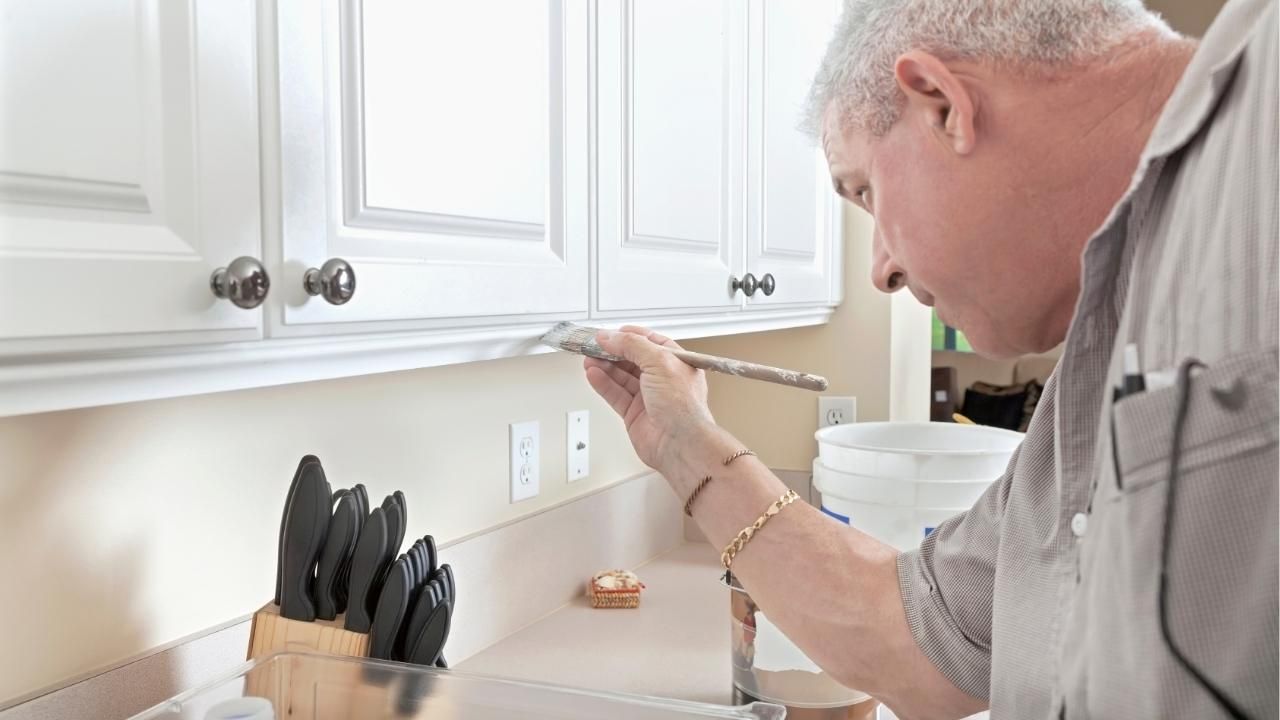
Sand and Fill
- Lightly sand all surfaces with fine-grit sandpaper to remove rough spots and old paint drips.
- Use wood filler to repair dents, cracks, or gaps, then sand smooth once dry.
Mask and Protect
Use painter’s tape to mask off areas you don’t want painted, like adjacent walls or glass panels on doors. Cover the floor with drop cloths to catch any drips.
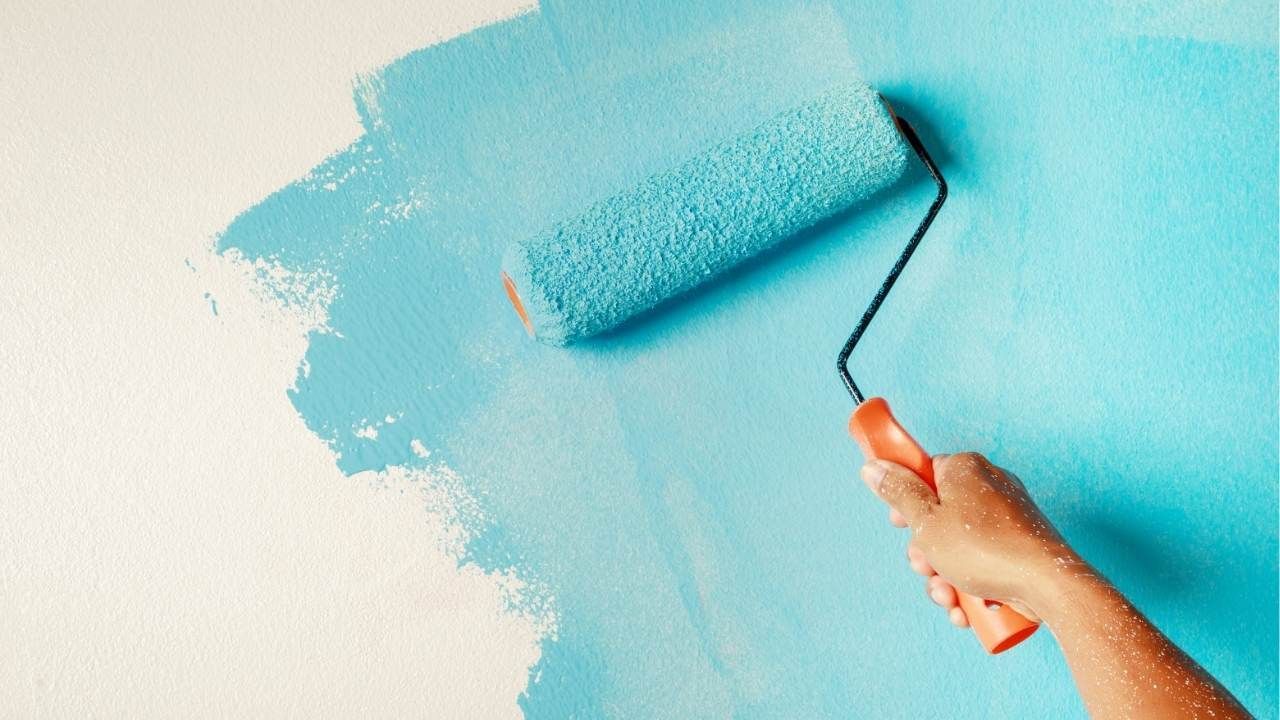
Choose the Right Tools and Paint
The right tools and materials can make or break your project. Investing in quality supplies pays off in the long run.
- Brushes: For trim, use a high-quality angled brush that allows for precision. A 2-inch brush works well for most applications.
- Rollers: A small foam roller can give doors a smooth, even finish with minimal texture.
- Paint: Semi-gloss or high-gloss paint is ideal for trim and doors because it’s durable and easy to clean. Choose a premium brand to ensure better coverage and a long-lasting finish.
- Primer: Don’t skip the primer, especially if you’re painting over a dark color or stained wood. It helps the paint adhere and enhances the final look.
Master the Painting Technique
Painting trim and doors is all about precision and patience. Here’s how to make your application flawless:
- Start with Primer
Apply a thin, even coat of primer with a brush or roller. Let it dry completely before sanding lightly to remove brush marks or drips. - Cut In First
Use an angled brush to "cut in" around edges and corners. This ensures you don’t miss any spots and sets the foundation for even coverage. - Work in Sections
For doors, work in small sections; starting with panels, then moving to rails and stiles, to maintain a wet edge and avoid lap marks. On trim, start at one end and move steadily to the other. - Apply Thin Coats
- Thin coats of paint dry faster and look smoother.
- Avoid overloading your brush or roller; this can cause drips and uneven texture.
- Allow each coat to dry fully before applying the next one.
Finishing Touches for Perfection
Once the paint is dry, it’s time to focus on those final details that make your work stand out.
- Remove Tape Carefully: Peel off painter’s tape slowly and at an angle while the paint is slightly tacky to avoid pulling off fresh paint.
- Inspect for Imperfections: Look for spots that need touch-ups, such as missed edges or uneven coverage.
- Clean Up: Clean your brushes and rollers immediately to keep them in good shape for your next project.
Final Thoughts
Painting trim and doors may seem like a challenge, but with proper preparation, quality tools, and the right techniques, you can achieve a finish that looks professionally done. Whether you’re tackling this project yourself or seeking expert help, remember that attention to detail is the key to stunning results.
If you’d prefer to leave the hard work to the experts, reach out to a house paint contractor Central Oregon residents rely on. From trim touch-ups to complete transformations, our team can bring your vision to life. Ready to elevate your home’s style? Connect with an experienced exterior painter today!
Ash Painting Blogs