How to Avoid Brush Marks When Painting Cabinets
Nothing ruins a freshly painted kitchen faster than visible brush marks. You start with excitement, but end up staring at streaks that make your cabinets look uneven and amateur. The good news? This problem is completely avoidable with the right approach.
In this guide, you’ll learn exactly how to get that smooth, factory-like finish, even if you’re doing it yourself. We’ll break down prep, tools, technique, and a few pro-level tricks that make all the difference.
Start With Proper Surface Preparation
Before you even think about picking up a brush, the real work begins. Most brush mark issues actually come from poor prep, not poor painting.
Here’s what you need to do first:
- Clean thoroughly: Remove grease and grime using a degreaser
- Sand the surface: Light sanding helps paint stick evenly
- Use a quality primer: This creates a smooth base and prevents absorption inconsistencies
Skipping any of these steps leads to uneven paint flow, which is one of the main causes of brush marks. Even seasoned pros in painting services will tell you, prep is half the job.
Choose the Right Tools (They Matter More Than You Think)
Cheap brushes are one of the fastest ways to ruin your finish.
For cabinet work, use:
- High-quality synthetic brushes (for latex paint)
- Fine bristles designed for smooth finishes
- Foam rollers for flat surfaces
A cabinet painting expert will often combine both a brush and a foam roller; brushing edges and rolling flat panels for a seamless look.
Also, don’t overload your brush. Too much paint leads to dragging, which creates visible streaks.
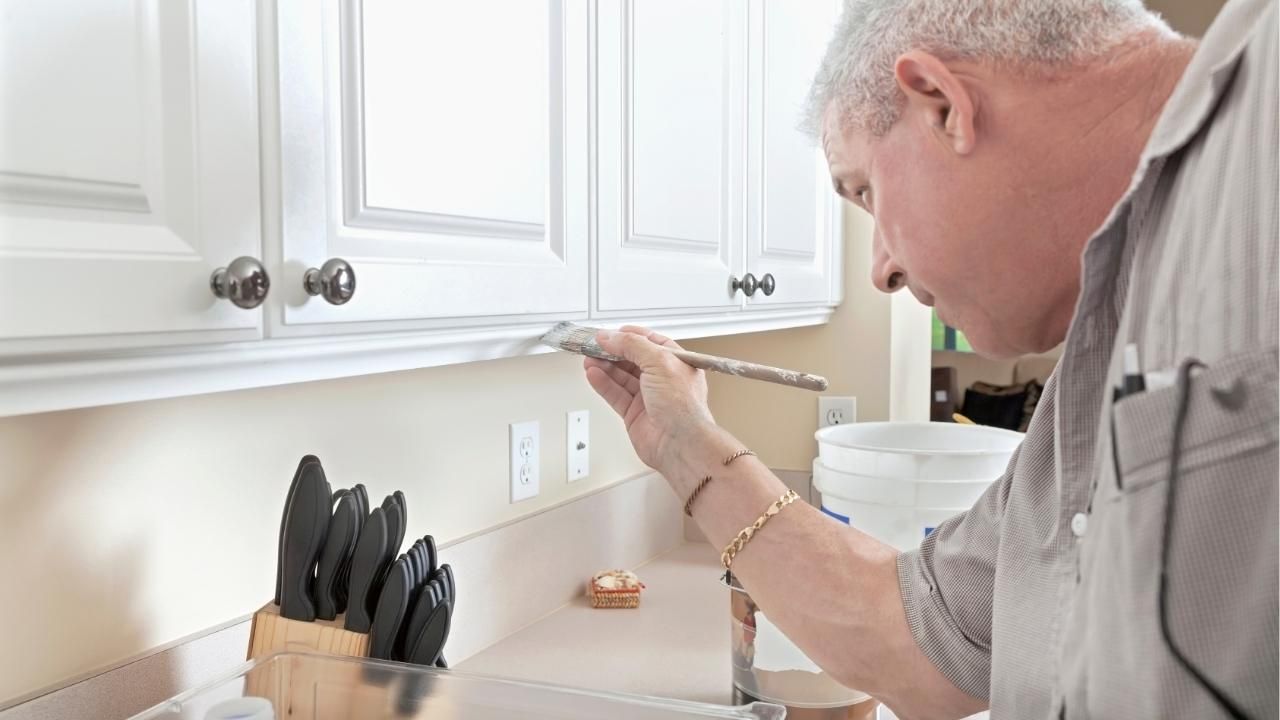
Master the Right Painting Technique
This is where most DIYers go wrong. Even with great tools, bad technique will show.
Follow these simple rules:
- Use long, even strokes, don’t dab or go back and forth randomly
- Paint in one direction to keep the finish consistent
- Avoid overworking the paint, once it starts drying, leave it alone
- Work in thin layers instead of one thick coat
Thin coats dry more evenly and reduce the chances of visible brush lines. Professionals, including any experienced painting contractor in Central Oregon, rely heavily on layering rather than rushing the job.
Control Drying Conditions
Paint doesn’t just dry, it reacts to its environment. Temperature, humidity, and airflow all play a role in how smooth your finish turns out.
For best results:
- Avoid painting in high heat (paint dries too fast, causing streaks)
- Keep airflow steady but not harsh
- Work in a dust-free space
If paint dries too quickly, brush strokes don’t have time to level out. That’s when marks become permanent.
Case Study: From Streaky to Smooth Finish
A homeowner attempted to repaint their kitchen cabinets over a weekend using standard brushes and thick coats. The result? Heavy streaks and uneven texture across every door.
After consulting a professional, they restarted the project with proper prep, high-quality brushes, and thin layering. They also switched to a brush-and-foam-roller combo. Within two days, the difference was dramatic, smooth, even, and close to a sprayed finish.
The takeaway is simple: technique and patience beat speed every time.
When to Consider Professional Help
If you’ve tried everything and still see brush marks, it may be time to bring in a pro. Cabinet painting is detail-heavy work, and small mistakes are easy to spot.
Professionals have:
- Advanced tools (including sprayers when needed)
- Controlled environments
- Years of experience with different cabinet materials
If you want guaranteed results, hiring an expert isn’t overkill: it’s smart.
Final Thoughts
Avoiding brush marks isn’t about luck, it’s about control. Control your prep, your tools, your technique, and your environment, and the results will follow.
If you’re ready to skip the guesswork and get a flawless finish the first time, contact us today and let experienced professionals handle your cabinet transformation.
Ash Painting Blogs