How to Build a Strong, Long-Lasting Wood Fence
A good wood fence doesn’t just mark your property line—it boosts curb appeal, improves privacy, and makes your backyard feel complete. If you’ve been thinking about building one yourself, the process is easier than most people expect. And once construction is done, a residential painter in Central Oregon can help finish it off with protective coatings that keep your investment looking sharp. Even companies like Ash Painting of Central Oregon often remind homeowners that long-term durability depends on what you do after installation.
This guide walks you through every major step of fence building—from planning to finishing—so you can avoid rookie mistakes and get it right the first time.
1. Plan Your Layout and Choose the Right Materials
Every great fence starts with solid planning. Before you pick up a single tool, map out exactly where you want the fence to sit.
Start with:
- Checking local building codes
- Asking your HOA about restrictions
- Talking to neighbors if you’re close to the property line
- Calling 811 to mark utility lines
Once your path is clear, choose materials based on your goals. Cedar and redwood are popular because they resist rot and insects. Pressure-treated lumber is more affordable and strong enough for most yards. Aim for straight boards with minimal knots—low-quality lumber leads to warped panels within a year.
2. Set Your Posts the Right Way
Fence posts are the backbone of your entire structure. If they fail, everything else fails. This is where many DIYers go wrong.
Here’s the right approach:
- Space posts 6–8 feet apart for optimal stability
- Dig each hole 1/3 as deep as the post’s height
- Add gravel at the bottom for drainage
- Use concrete to secure posts, checking that each one is level
Give the concrete at least 24–48 hours to cure before moving forward. Rushing this step is the fastest way to end up with a crooked fence.
3. Install the Rails and Attach the Fence Boards
Once the posts are solid, you can install the horizontal rails. Most fences use three rails—top, middle, and bottom. Use corrosion-resistant screws or nails to keep the structure tight.
Then it’s time for the fence boards. You can choose:
- Butt boards for a simple look
- Shadowbox style for airflow and a semi-private feel
- Board-on-board for maximum privacy
Keep a consistent gap between boards by using a spacer. Work slowly, checking level every few boards. A little patience here makes the entire fence look professionally built.
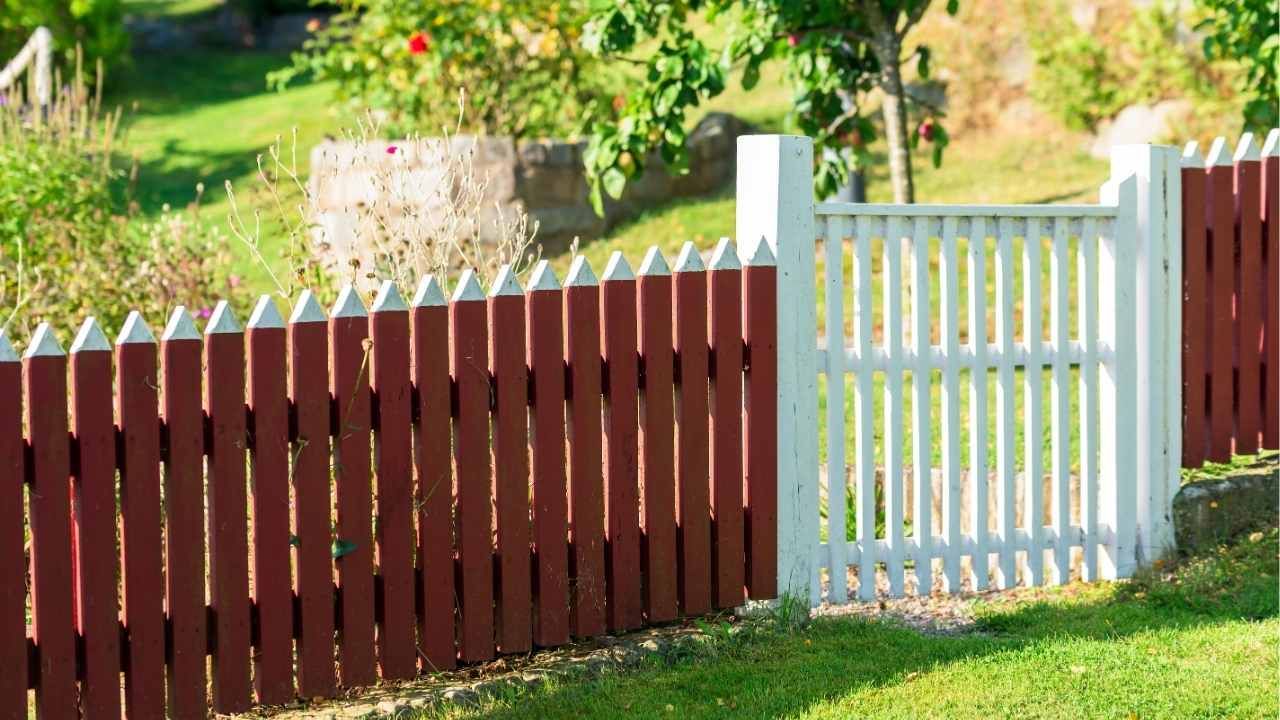
4. Add the Finishing Touches: Gates and Protection
If you need a gate, build it with extra bracing so it doesn’t sag. Use high-quality hinges and hardware that can handle daily use.
Once everything is assembled, protect your fence with fence painting and staining. This step prevents UV damage, rot, cracking, and moisture intrusion. Skipping the finish coat means your fence will age fast—and not in a charming, rustic way.
Case Study: A Weekend Warrior Who Got It Right
Last summer, a homeowner in Bend decided to build his first wood fence—160 feet across sloped terrain. He followed a clear plan, used cedar boards, and spent two full days just setting the posts correctly. After installing rails and boards the next weekend, he brought in a professional crew to stain the fence for long-term protection. The result was a fence that stayed level through winter storms and still looks brand new today. His total cost came in lower than hiring a contractor, and the project added instant value and privacy to his backyard.
Take the Next Step
Building a wood fence is absolutely doable when you follow a solid process. If you’re ready to improve your yard, start gathering materials and get your layout planned.
The sooner you begin, the sooner you’ll enjoy a fence that’s both attractive and built to last. Have questions about the right materials or need help with a complex layout? Contact us for expert advice.
Ash Painting Blogs